Professional Attic Ladder Installation – South Jacksonville Florida
When a homeowner in South Jacksonville needed to upgrade their garage storage access, I was called in for a professional attic ladder installation project that would transform their unused attic space into easily accessible storage. What started as a simple drywall access panel became a fully functional, safe ladder system—all completed in just one day.
Here’s a detailed look at how I converted a basic ceiling access opening into a professional attic ladder installation with custom trim work for a clean, finished appearance.
The Challenge: Converting a Drywall Access Panel to a Functional Attic Ladder
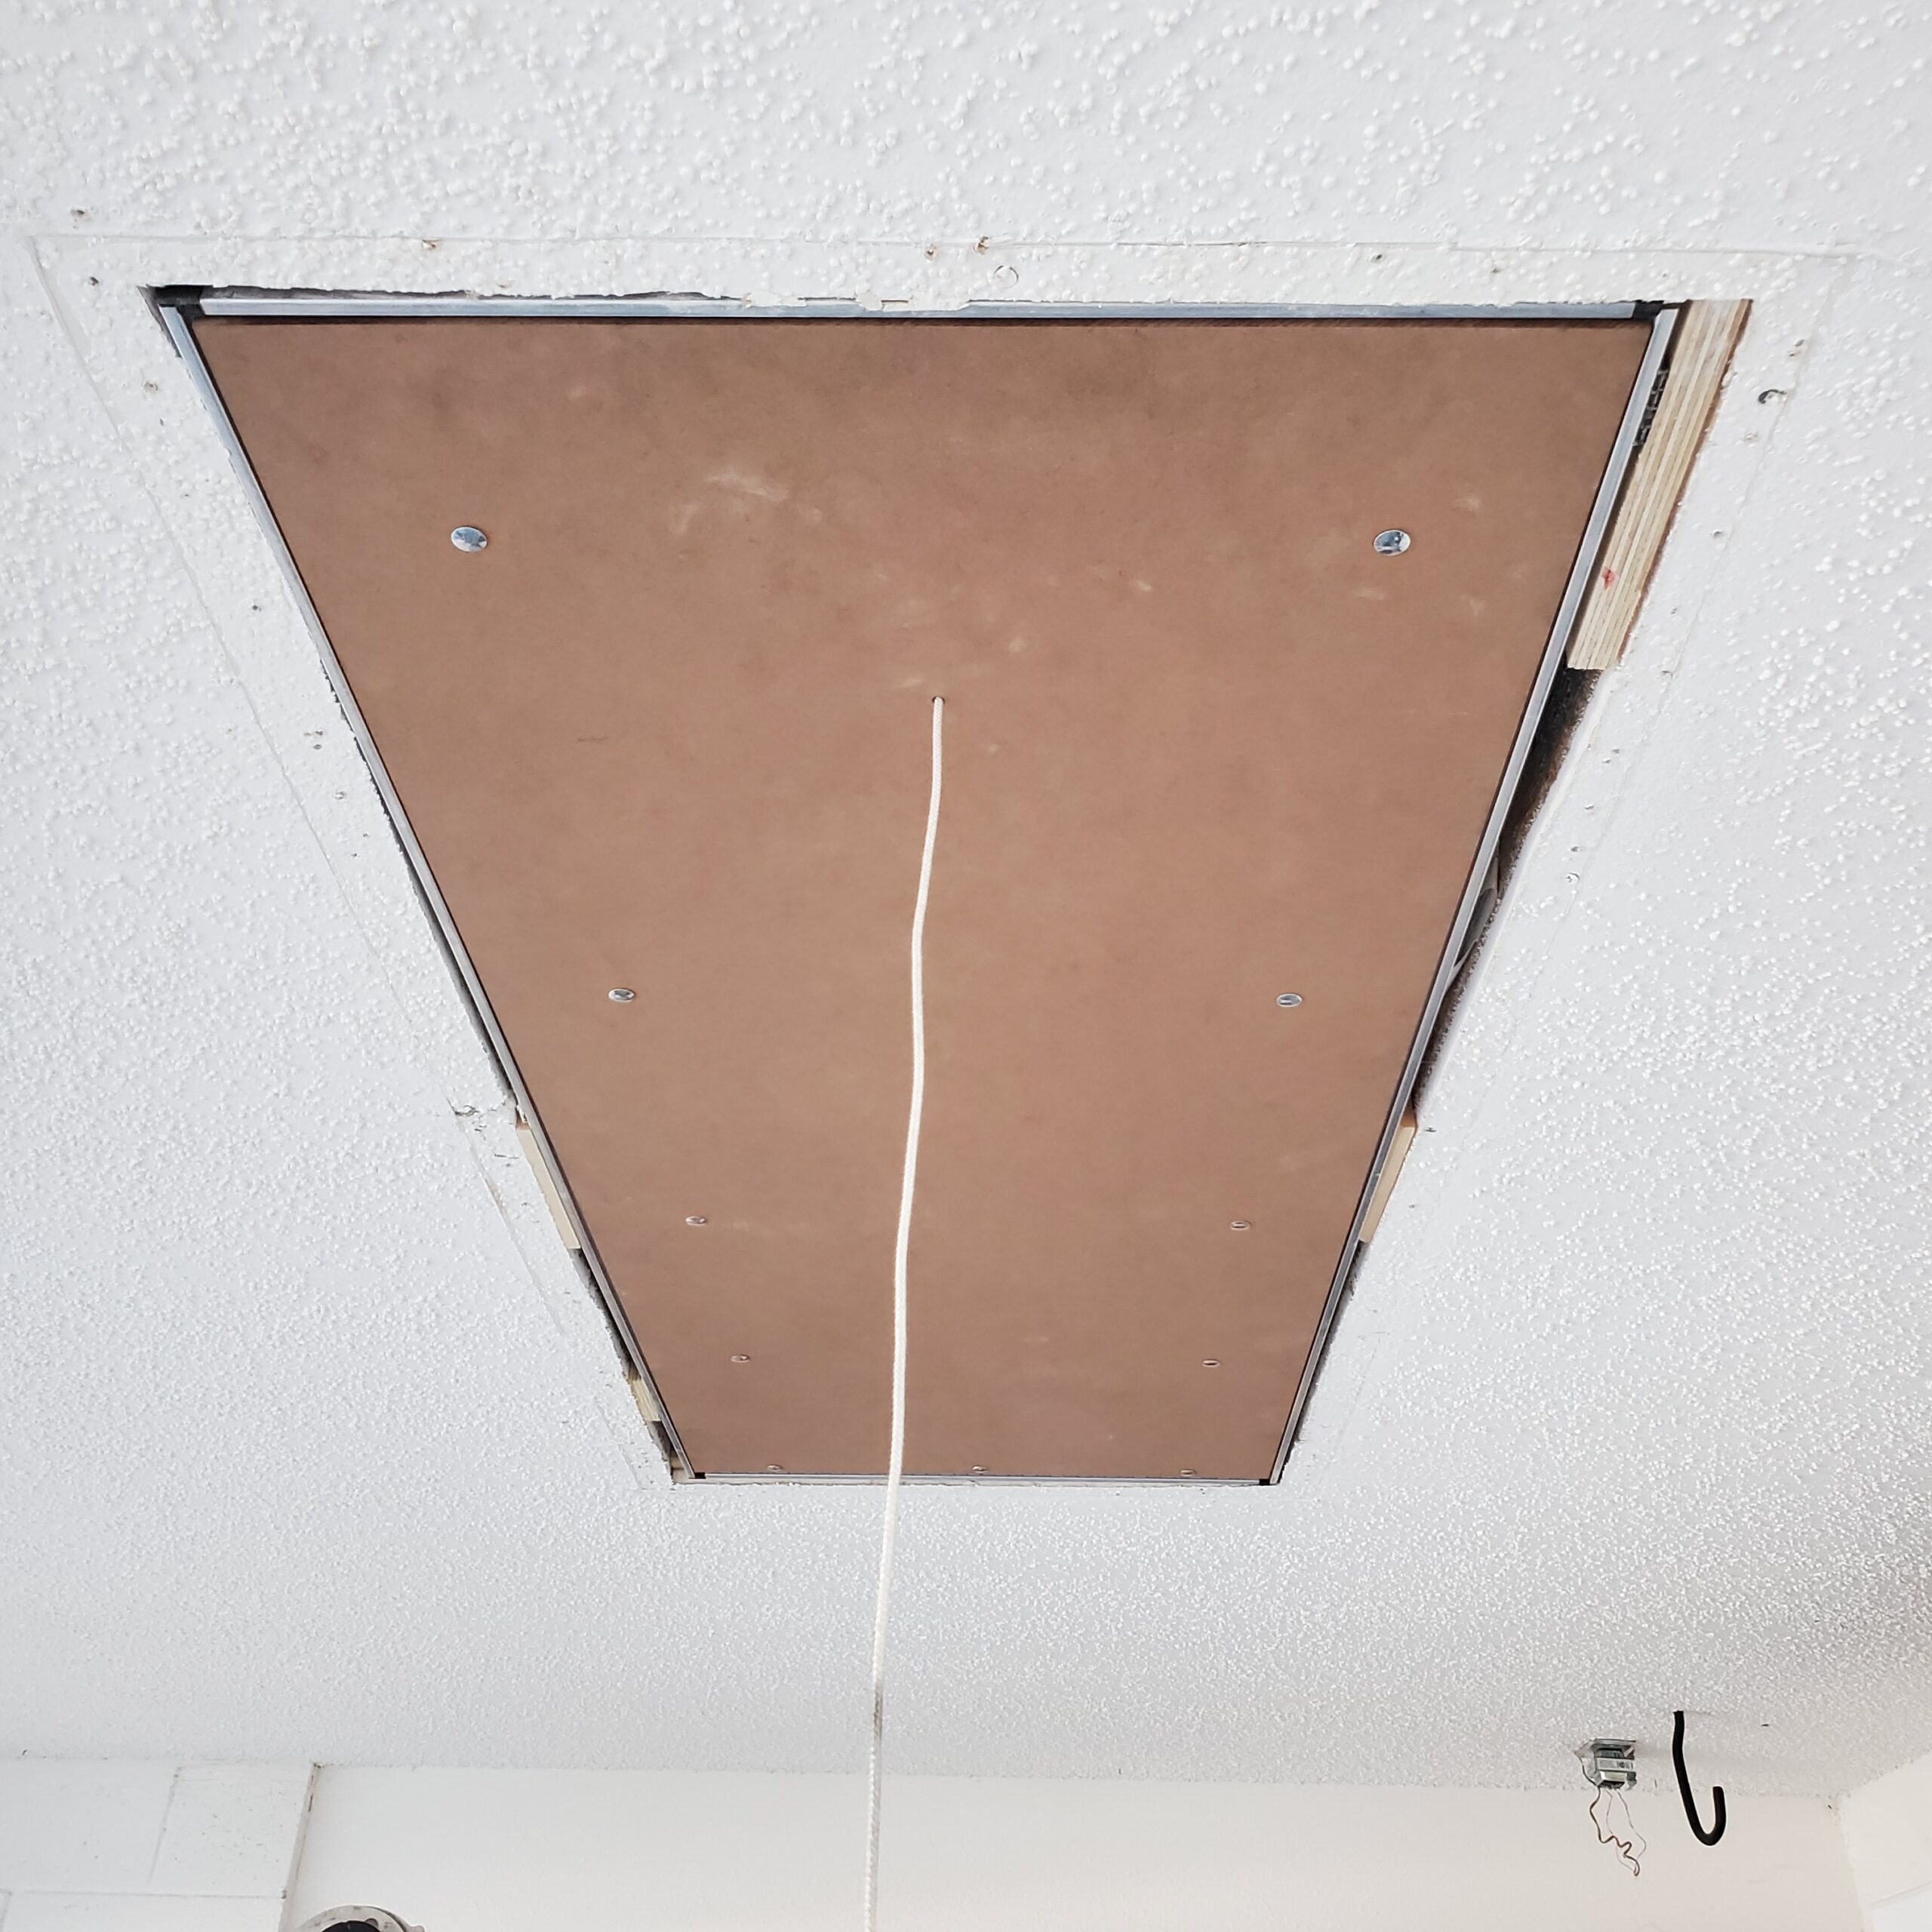
The existing attic access in this Jacksonville garage was about as basic as it gets—just a piece of drywall sitting loosely on top of a trimmed ceiling opening. While it technically provided access to the attic space, it was far from ideal. Every time the homeowner wanted to store something above, they needed a ladder to push up the drywall panel, precariously climb through the opening, and somehow pull items up after them.
The solution? A complete attic ladder installation using a quality aluminum pull-down ladder system that would provide safe, convenient access to the attic space. But this project required more than just installing the ladder—it needed proper framing and professional trim work to create a truly functional storage access solution.
Key Project Requirements..
- Remove existing trim and drywall access panel
- Rough frame the ceiling opening to proper dimensions
- Install new aluminum pull-down attic ladder
- Install custom trim around ladder door
- Caulk and paint trim to match existing garage finish
The Work: Professional Attic Ladder Installation Process
This attic ladder installation project was completed efficiently in a single day, but every step required careful attention to detail to ensure a safe, functional, and professionally finished result.
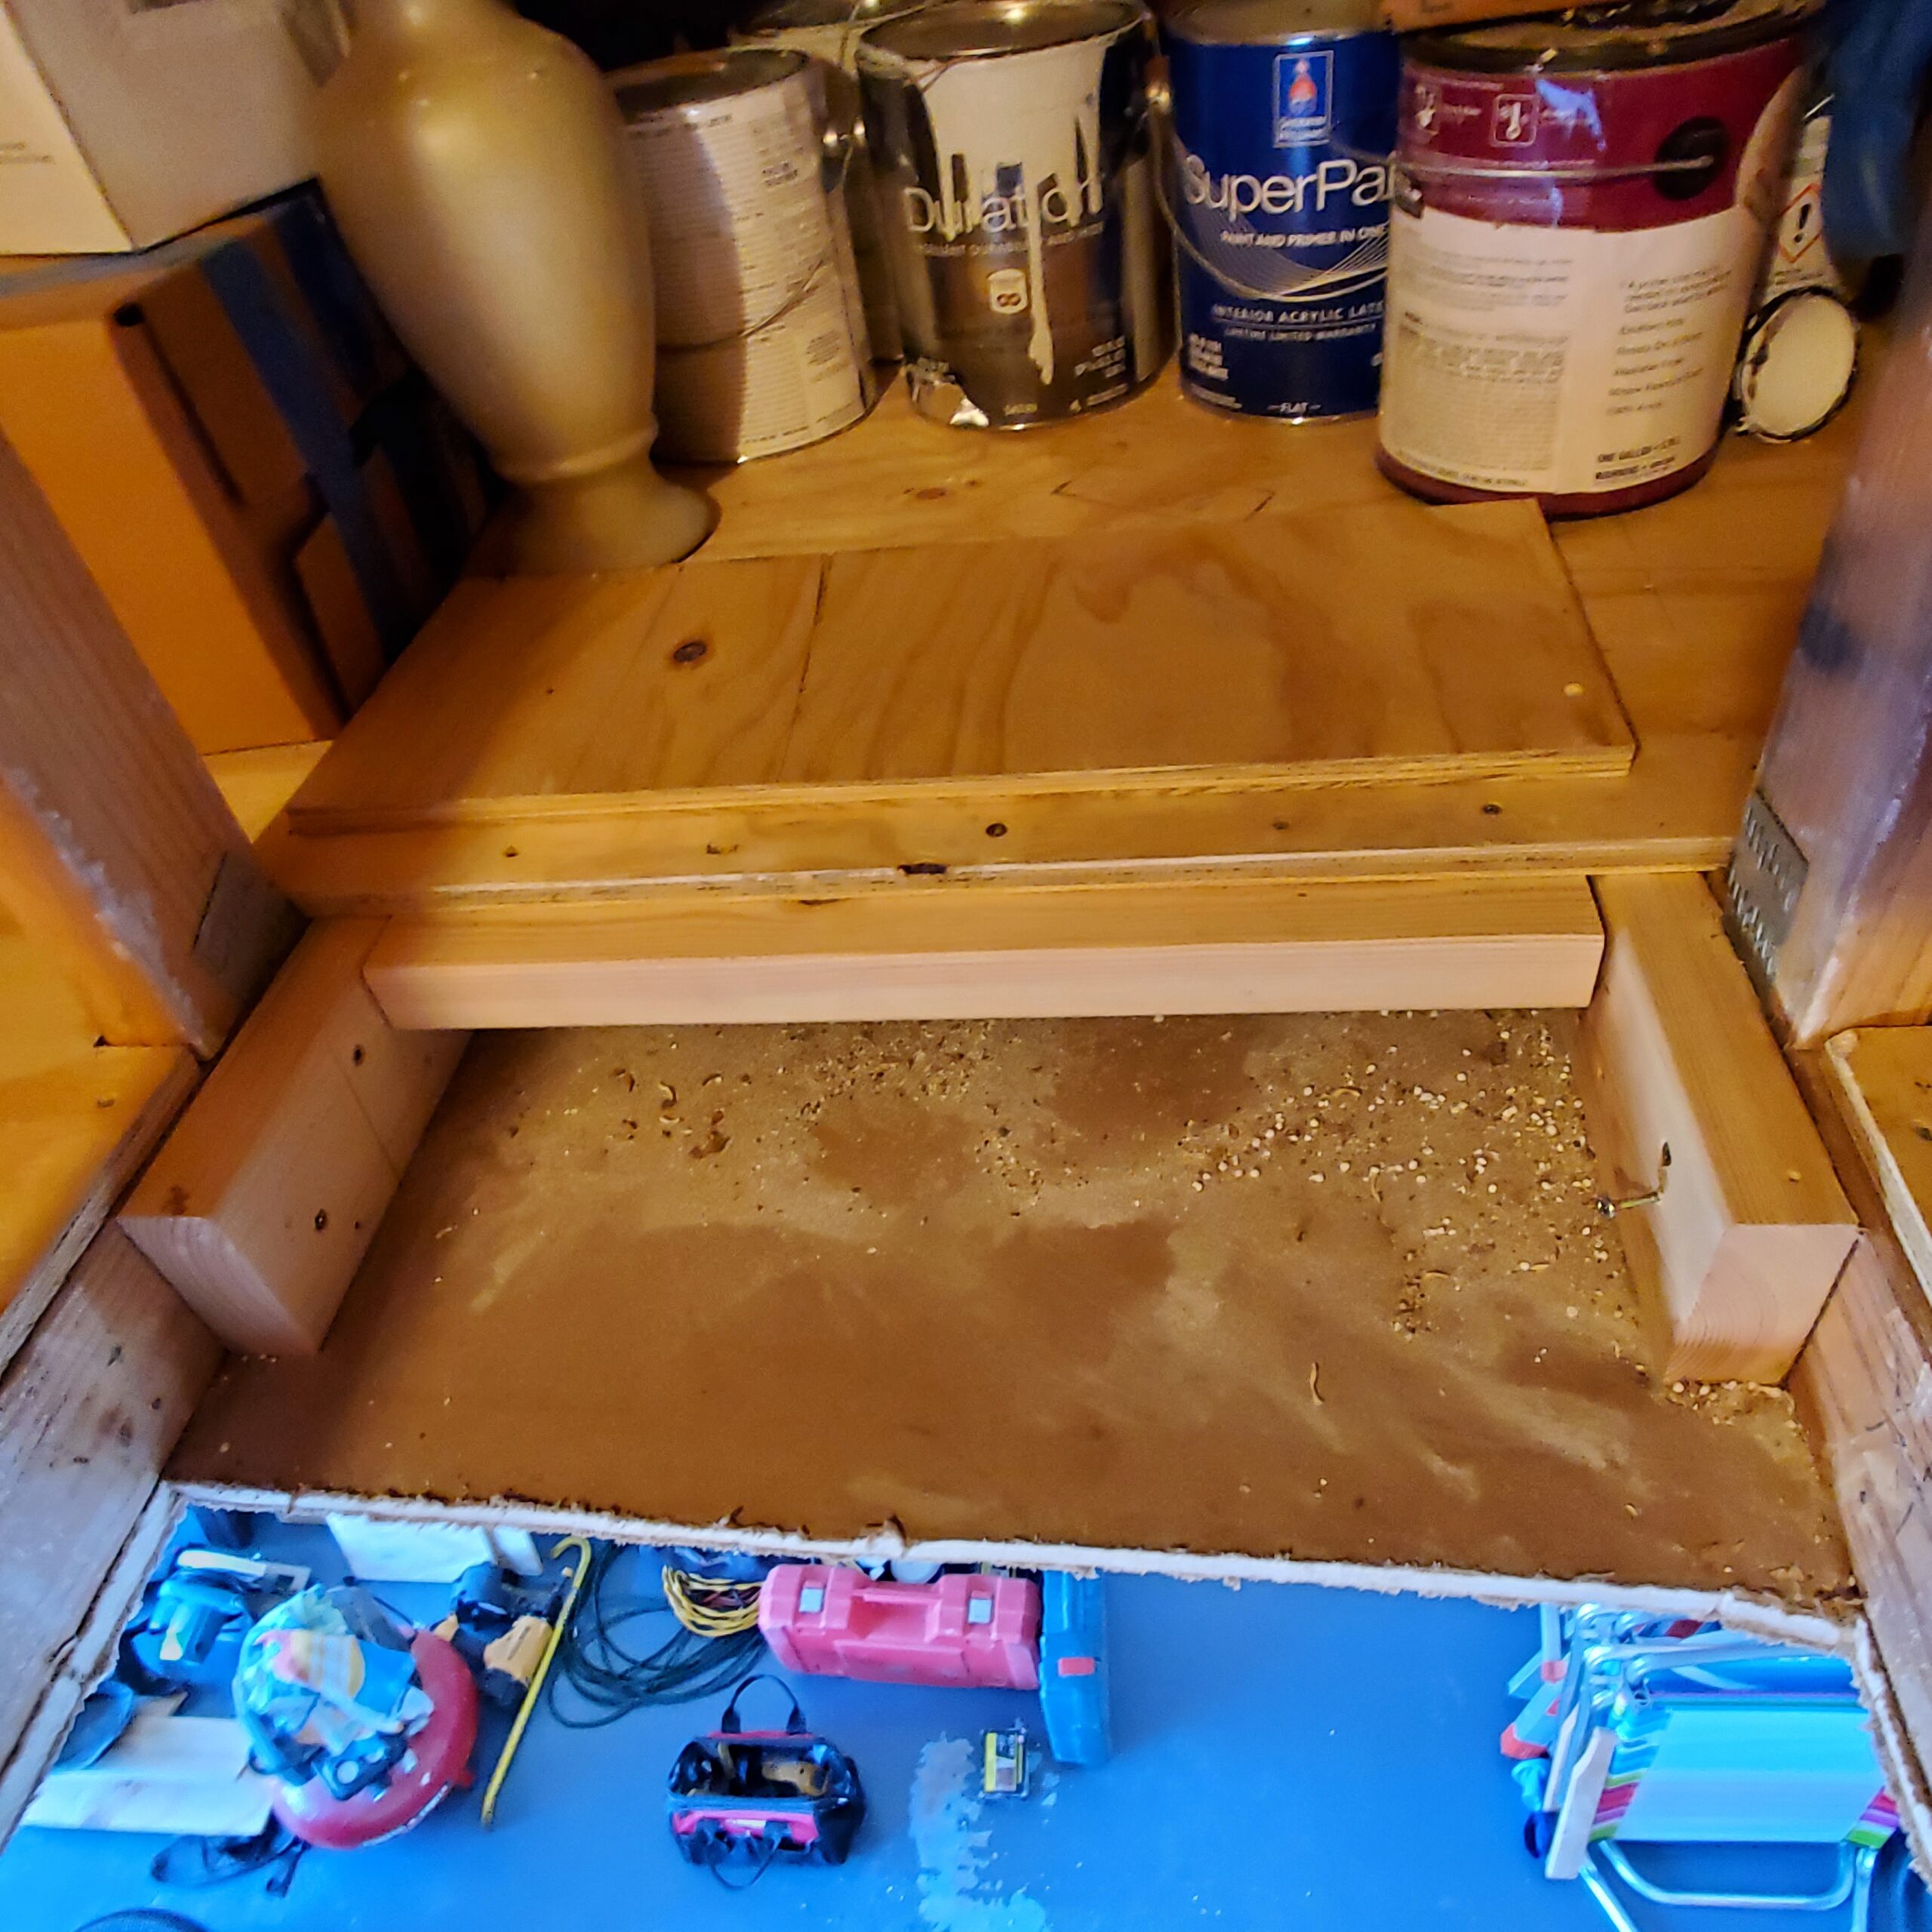
Step 1: Removal and Preparation
I began by carefully removing the existing trim around the ceiling opening. This trim needed to come off cleanly to avoid damage to the surrounding drywall and ceiling texture. Once the trim was removed, I took out the loose drywall panel that had been serving as the “access door.”
With the opening exposed, I could assess the existing framing and determine what modifications were needed. Every attic ladder has specific rough opening requirements, and this one was no exception—the opening needed to be precisely sized to ensure proper fit and operation of the ladder mechanism.
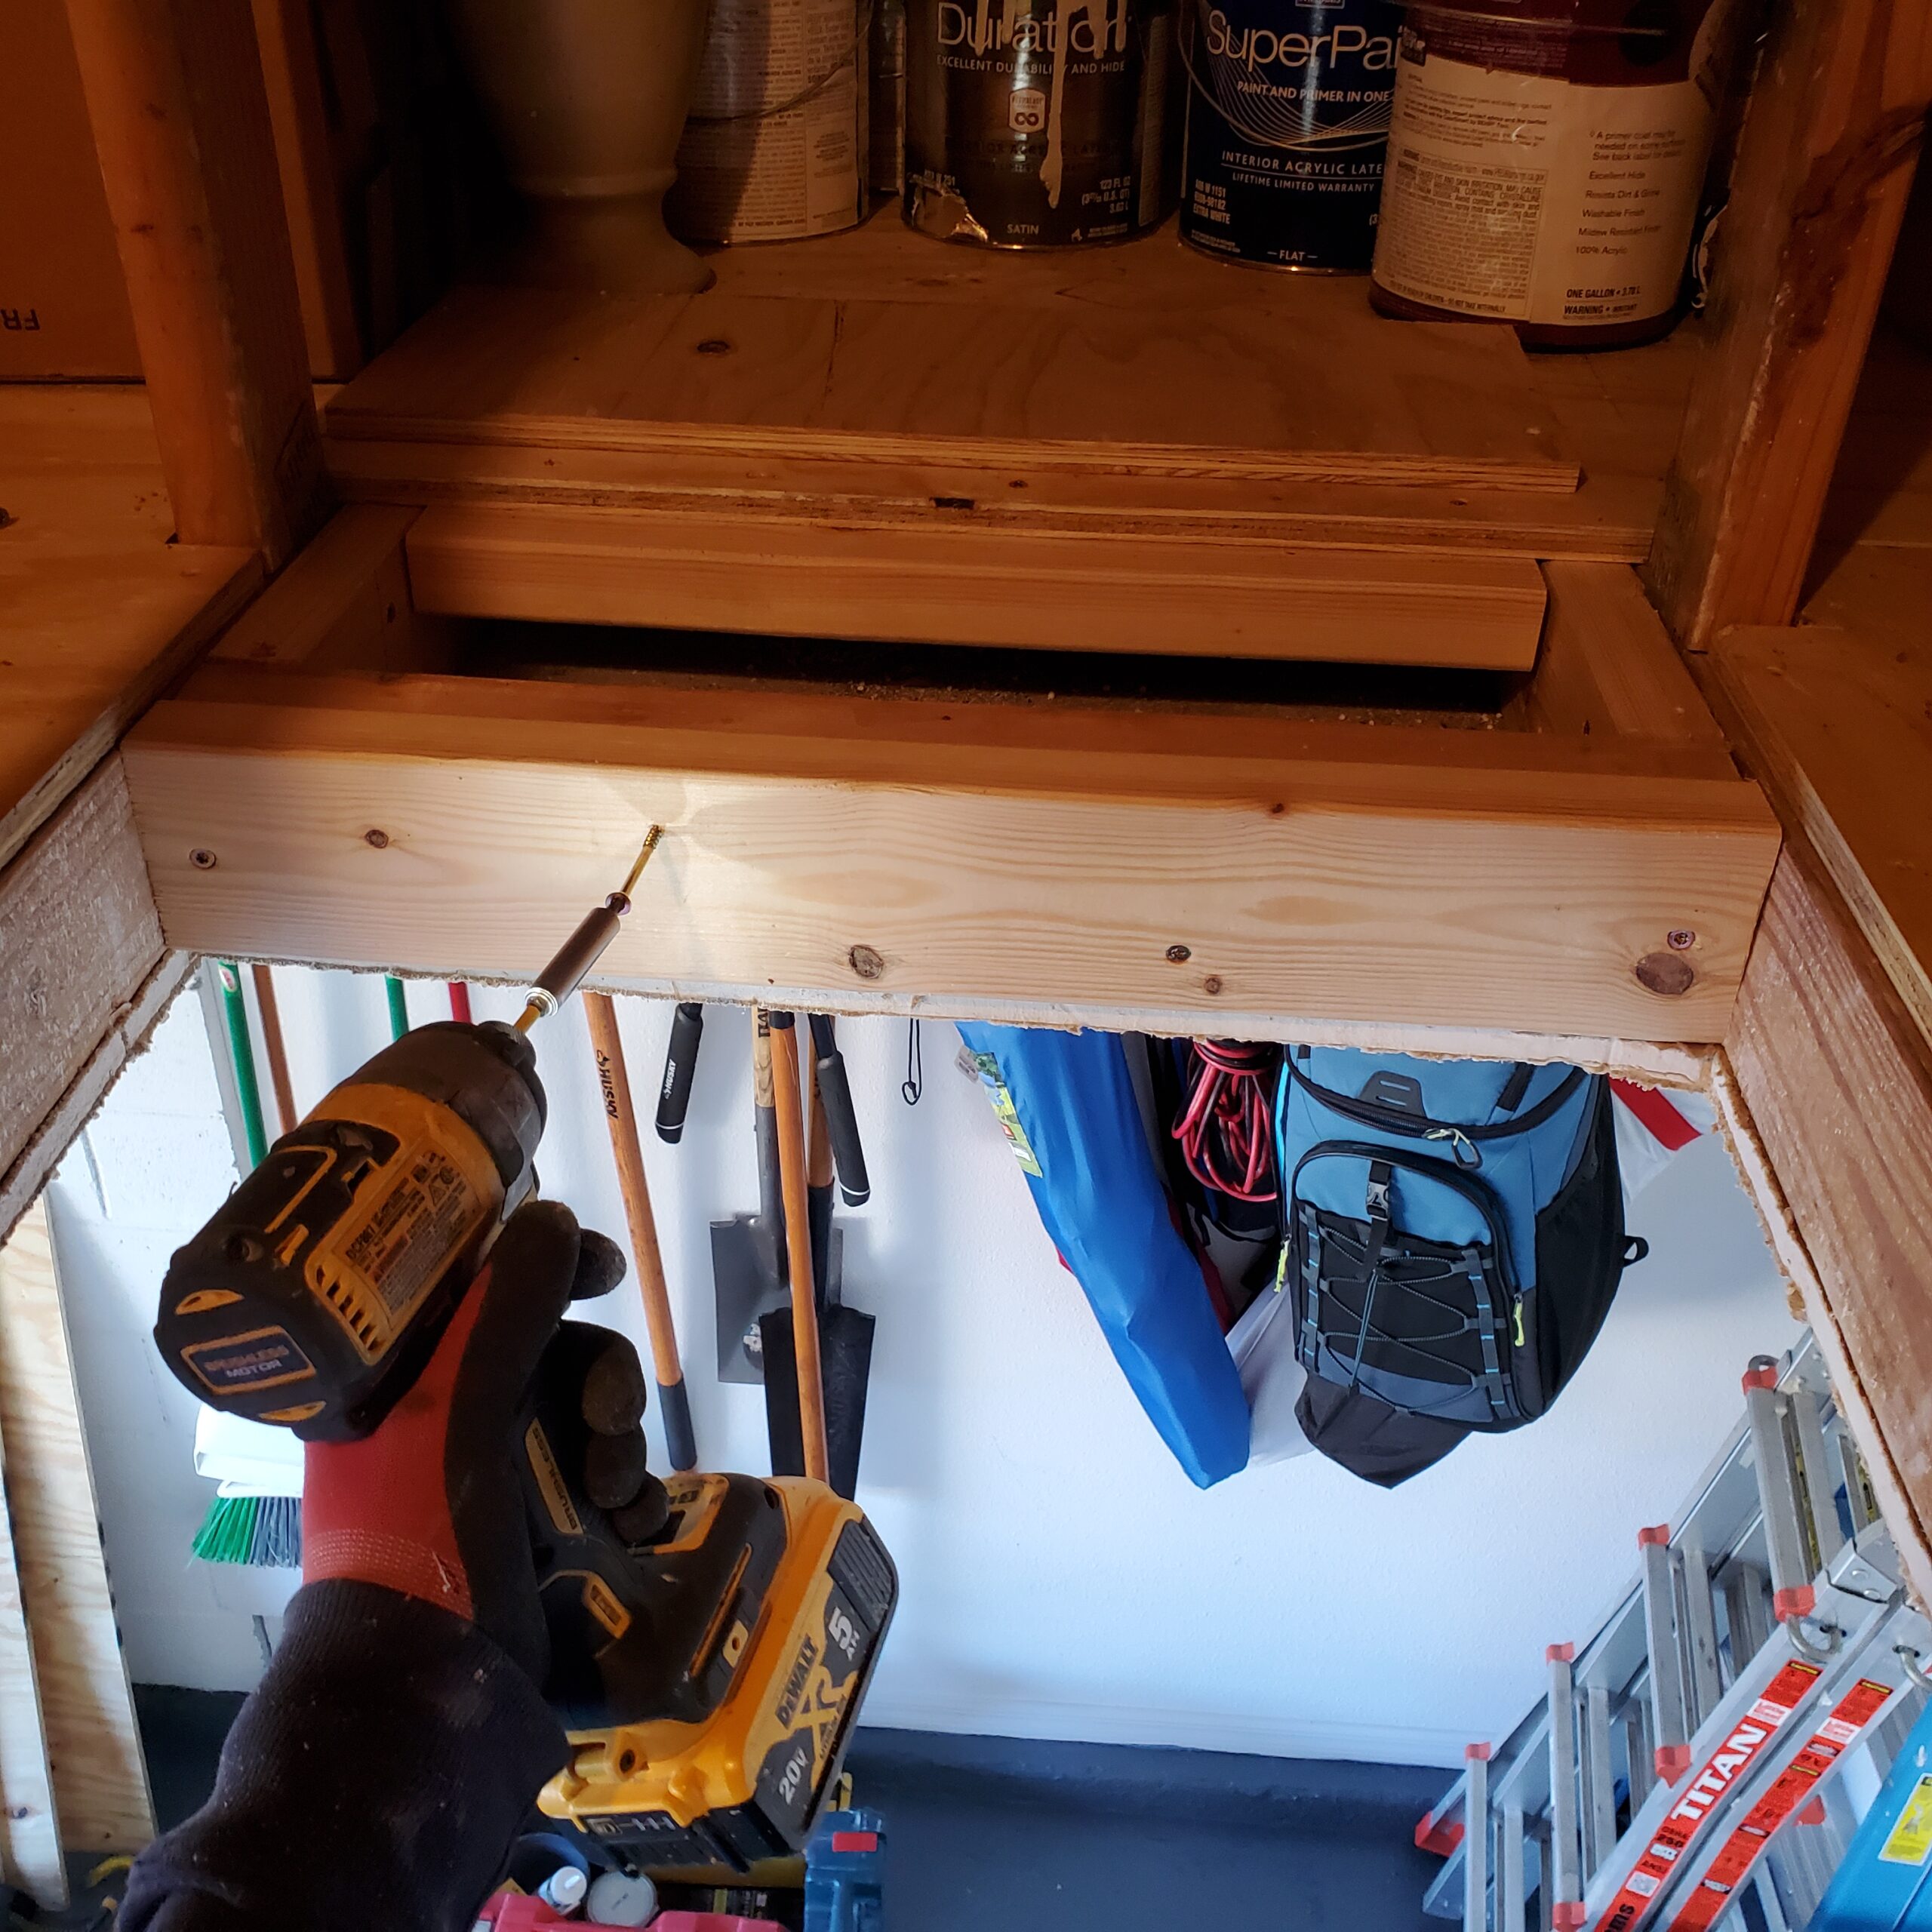
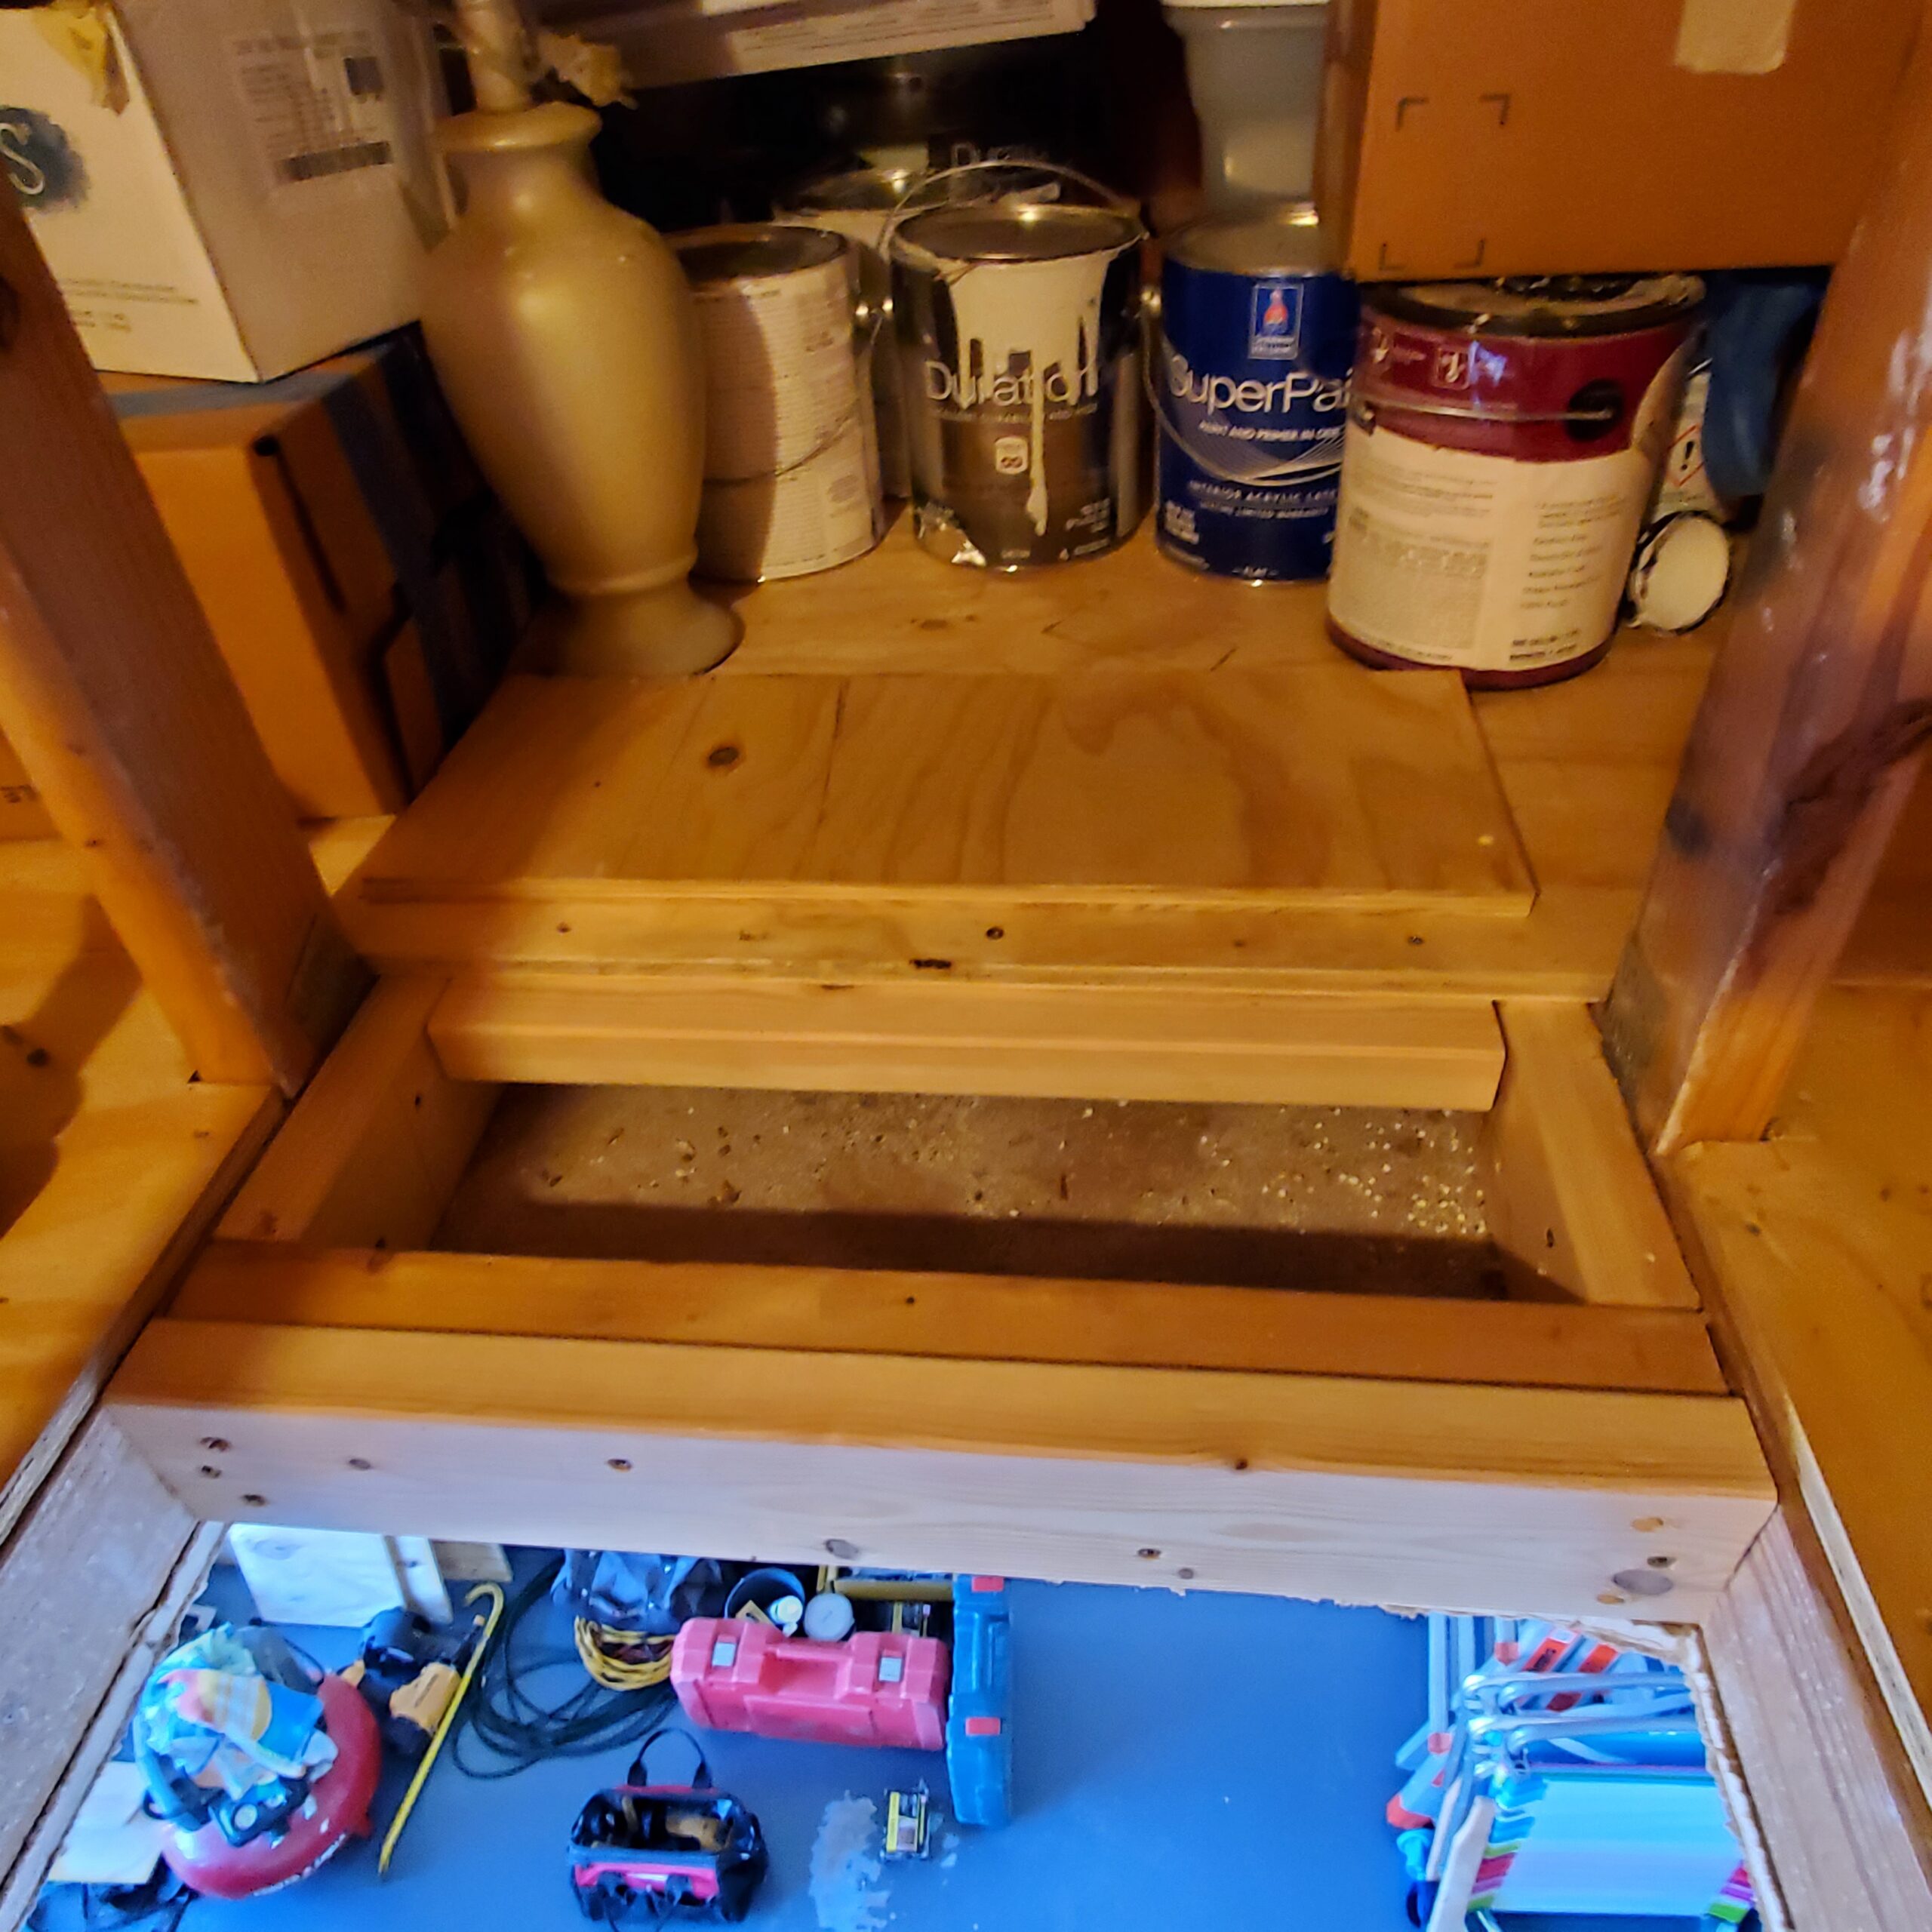
Step 2: Framing the Opening
Proper framing is critical for attic ladder installation. The opening must be perfectly sized—not too large or too small—and the framing must be strong enough to support the weight of both the ladder system and people climbing up and down.
I carefully measured and cut the framing members to create the exact rough opening specified by the ladder manufacturer. This involved installing new headers and ensuring everything was level, square, and securely fastened to the existing ceiling joists. Proper framing at this stage prevents future problems like sagging, misalignment, or operational issues with the ladder.
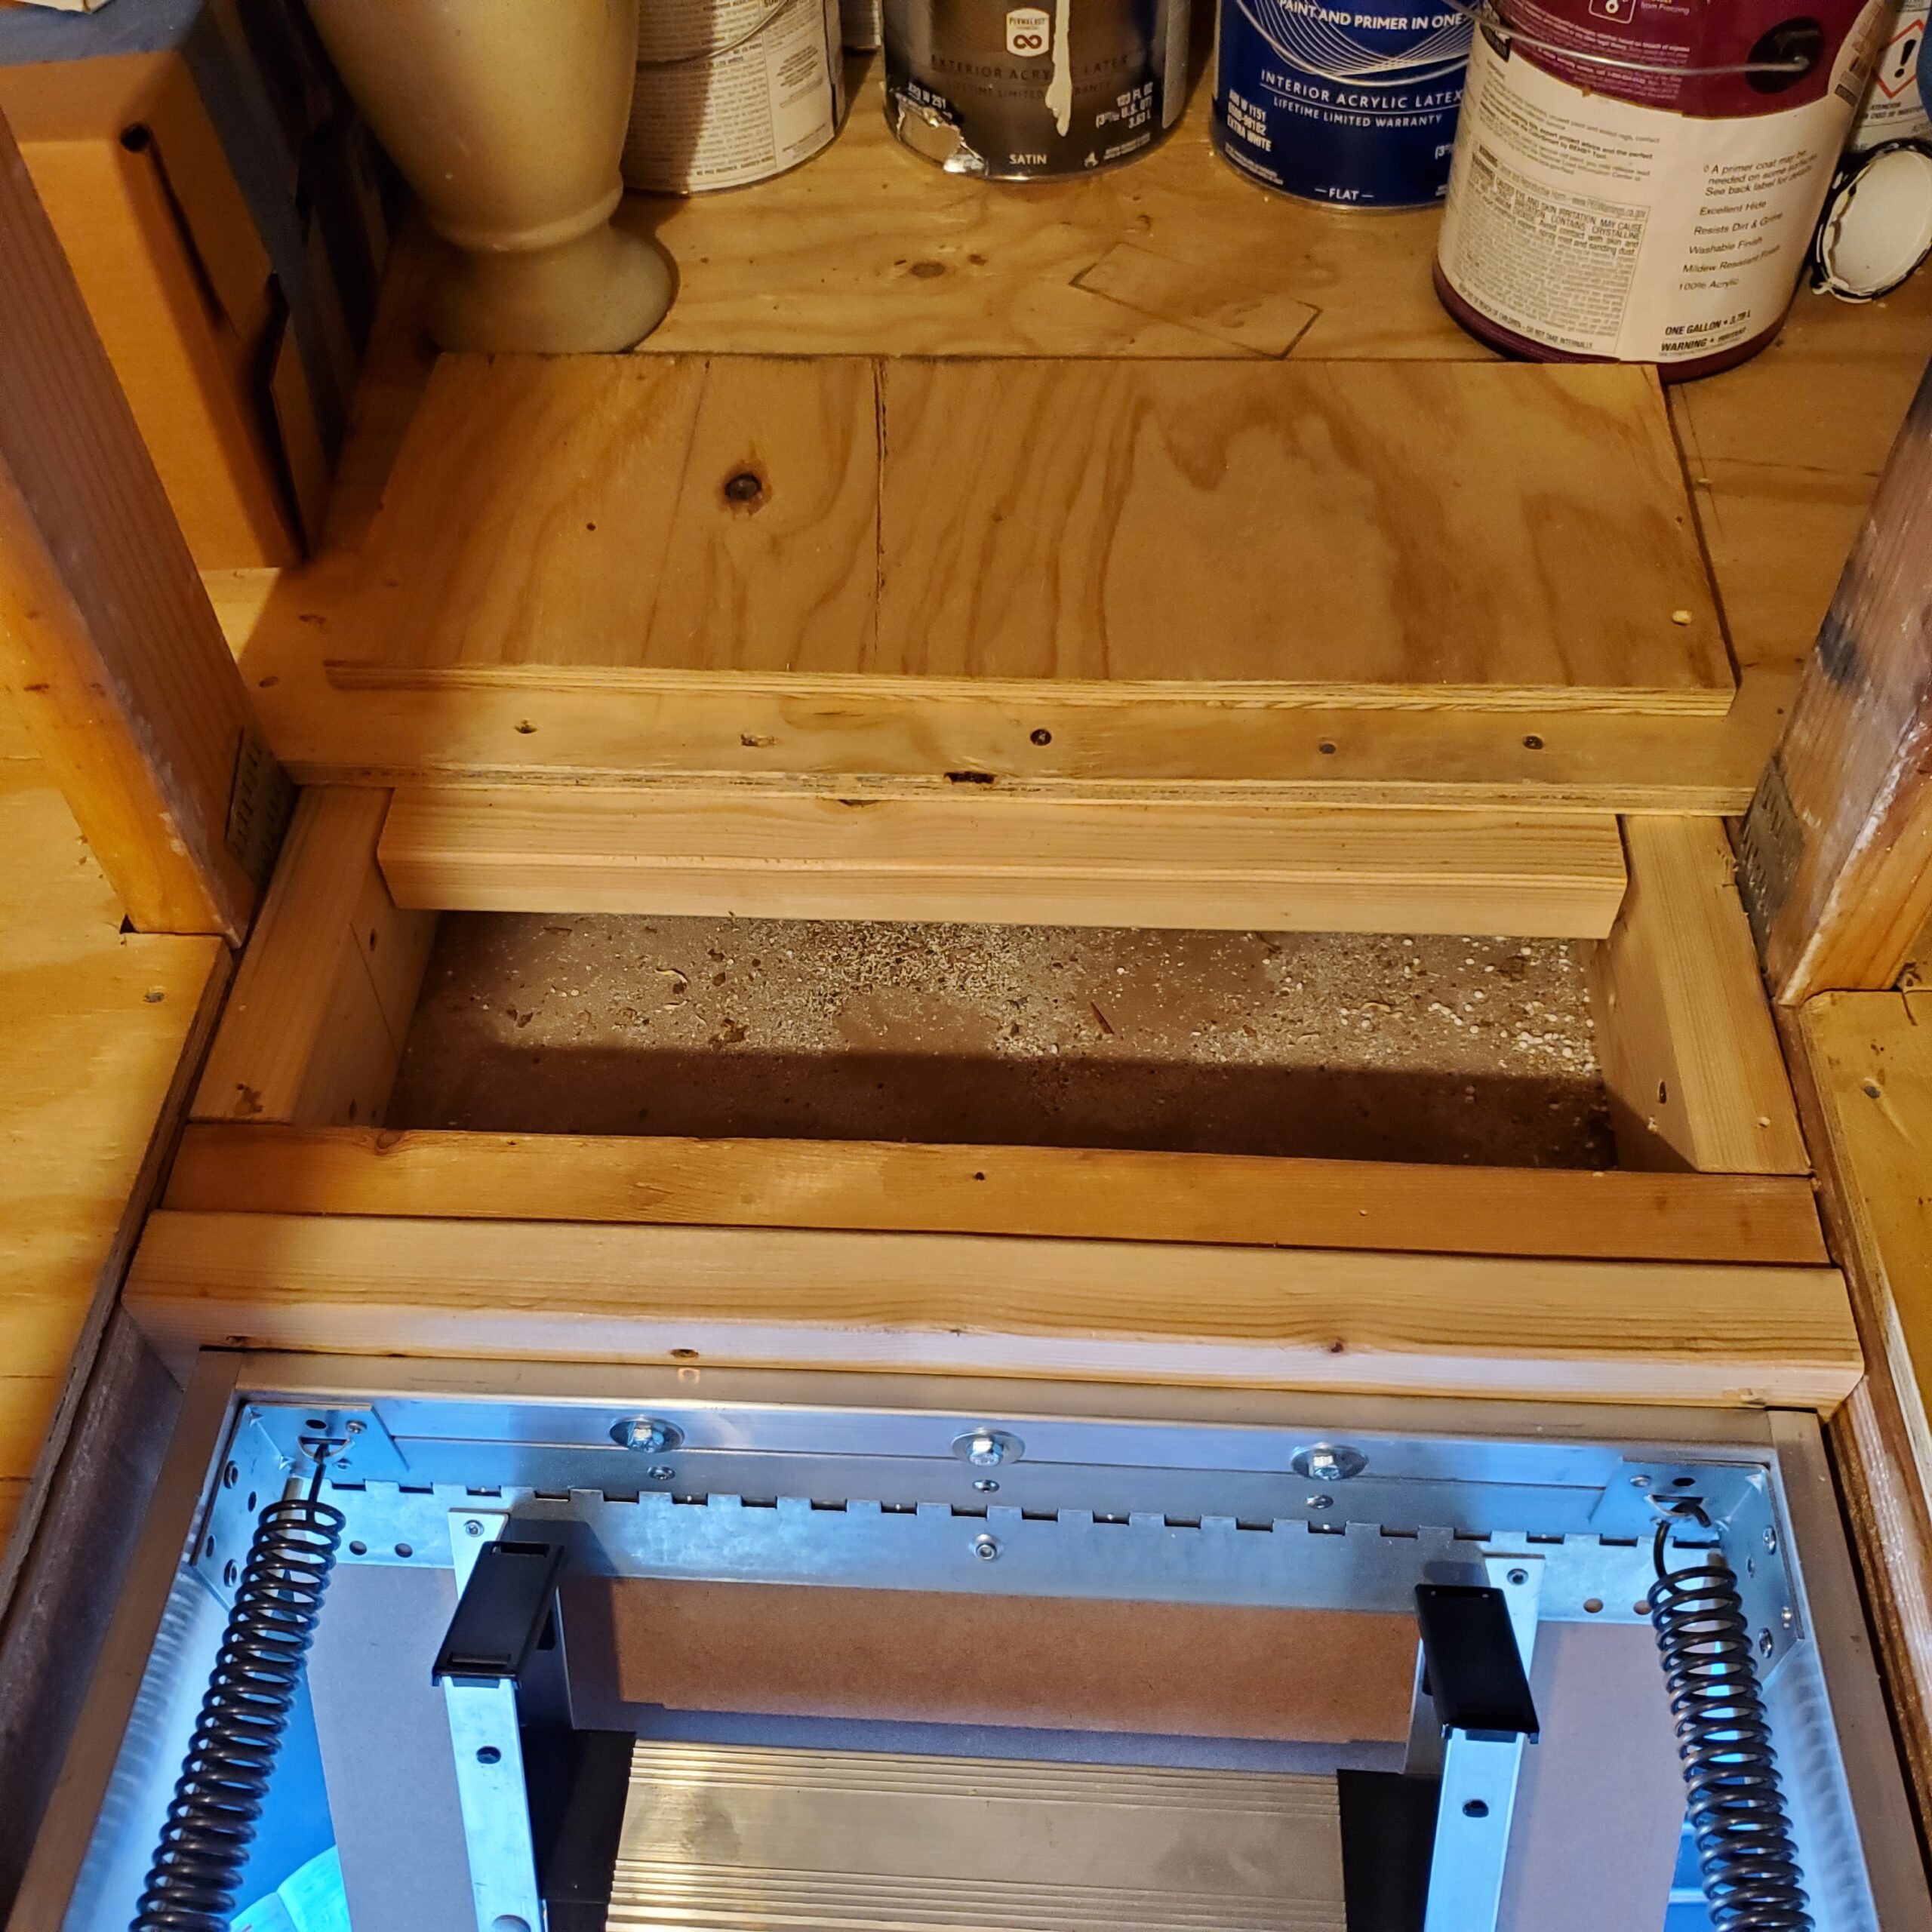
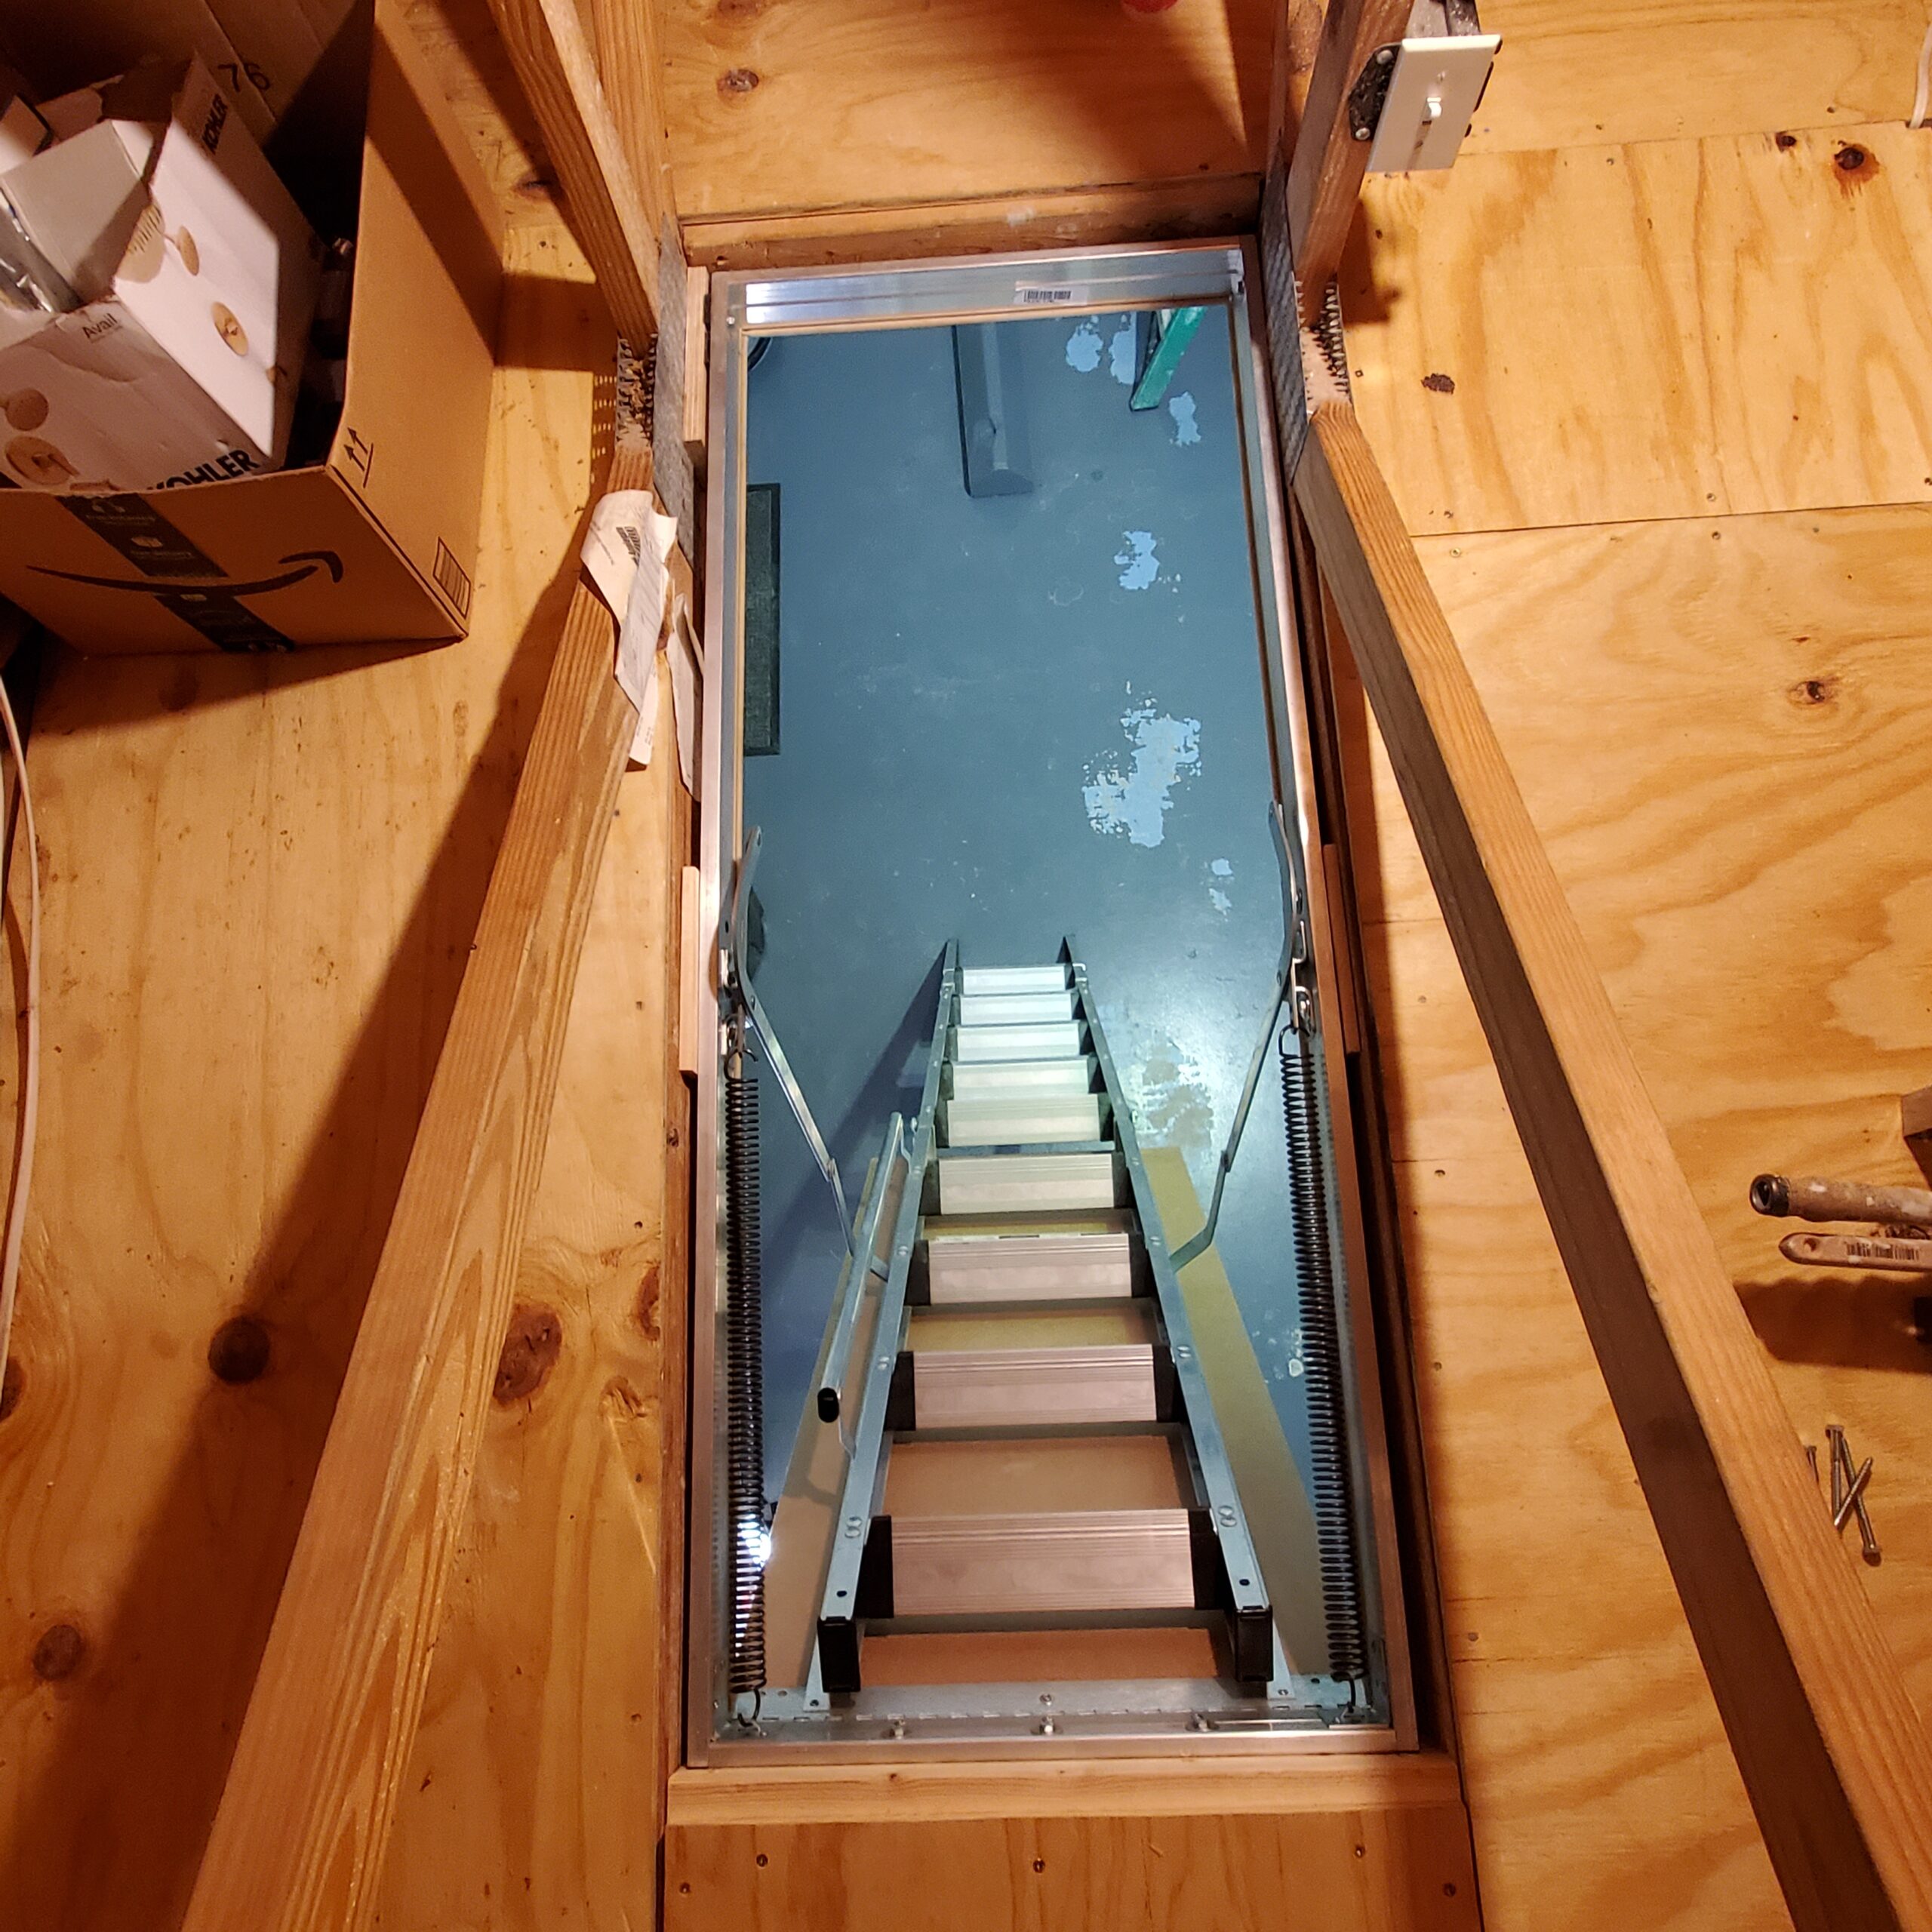
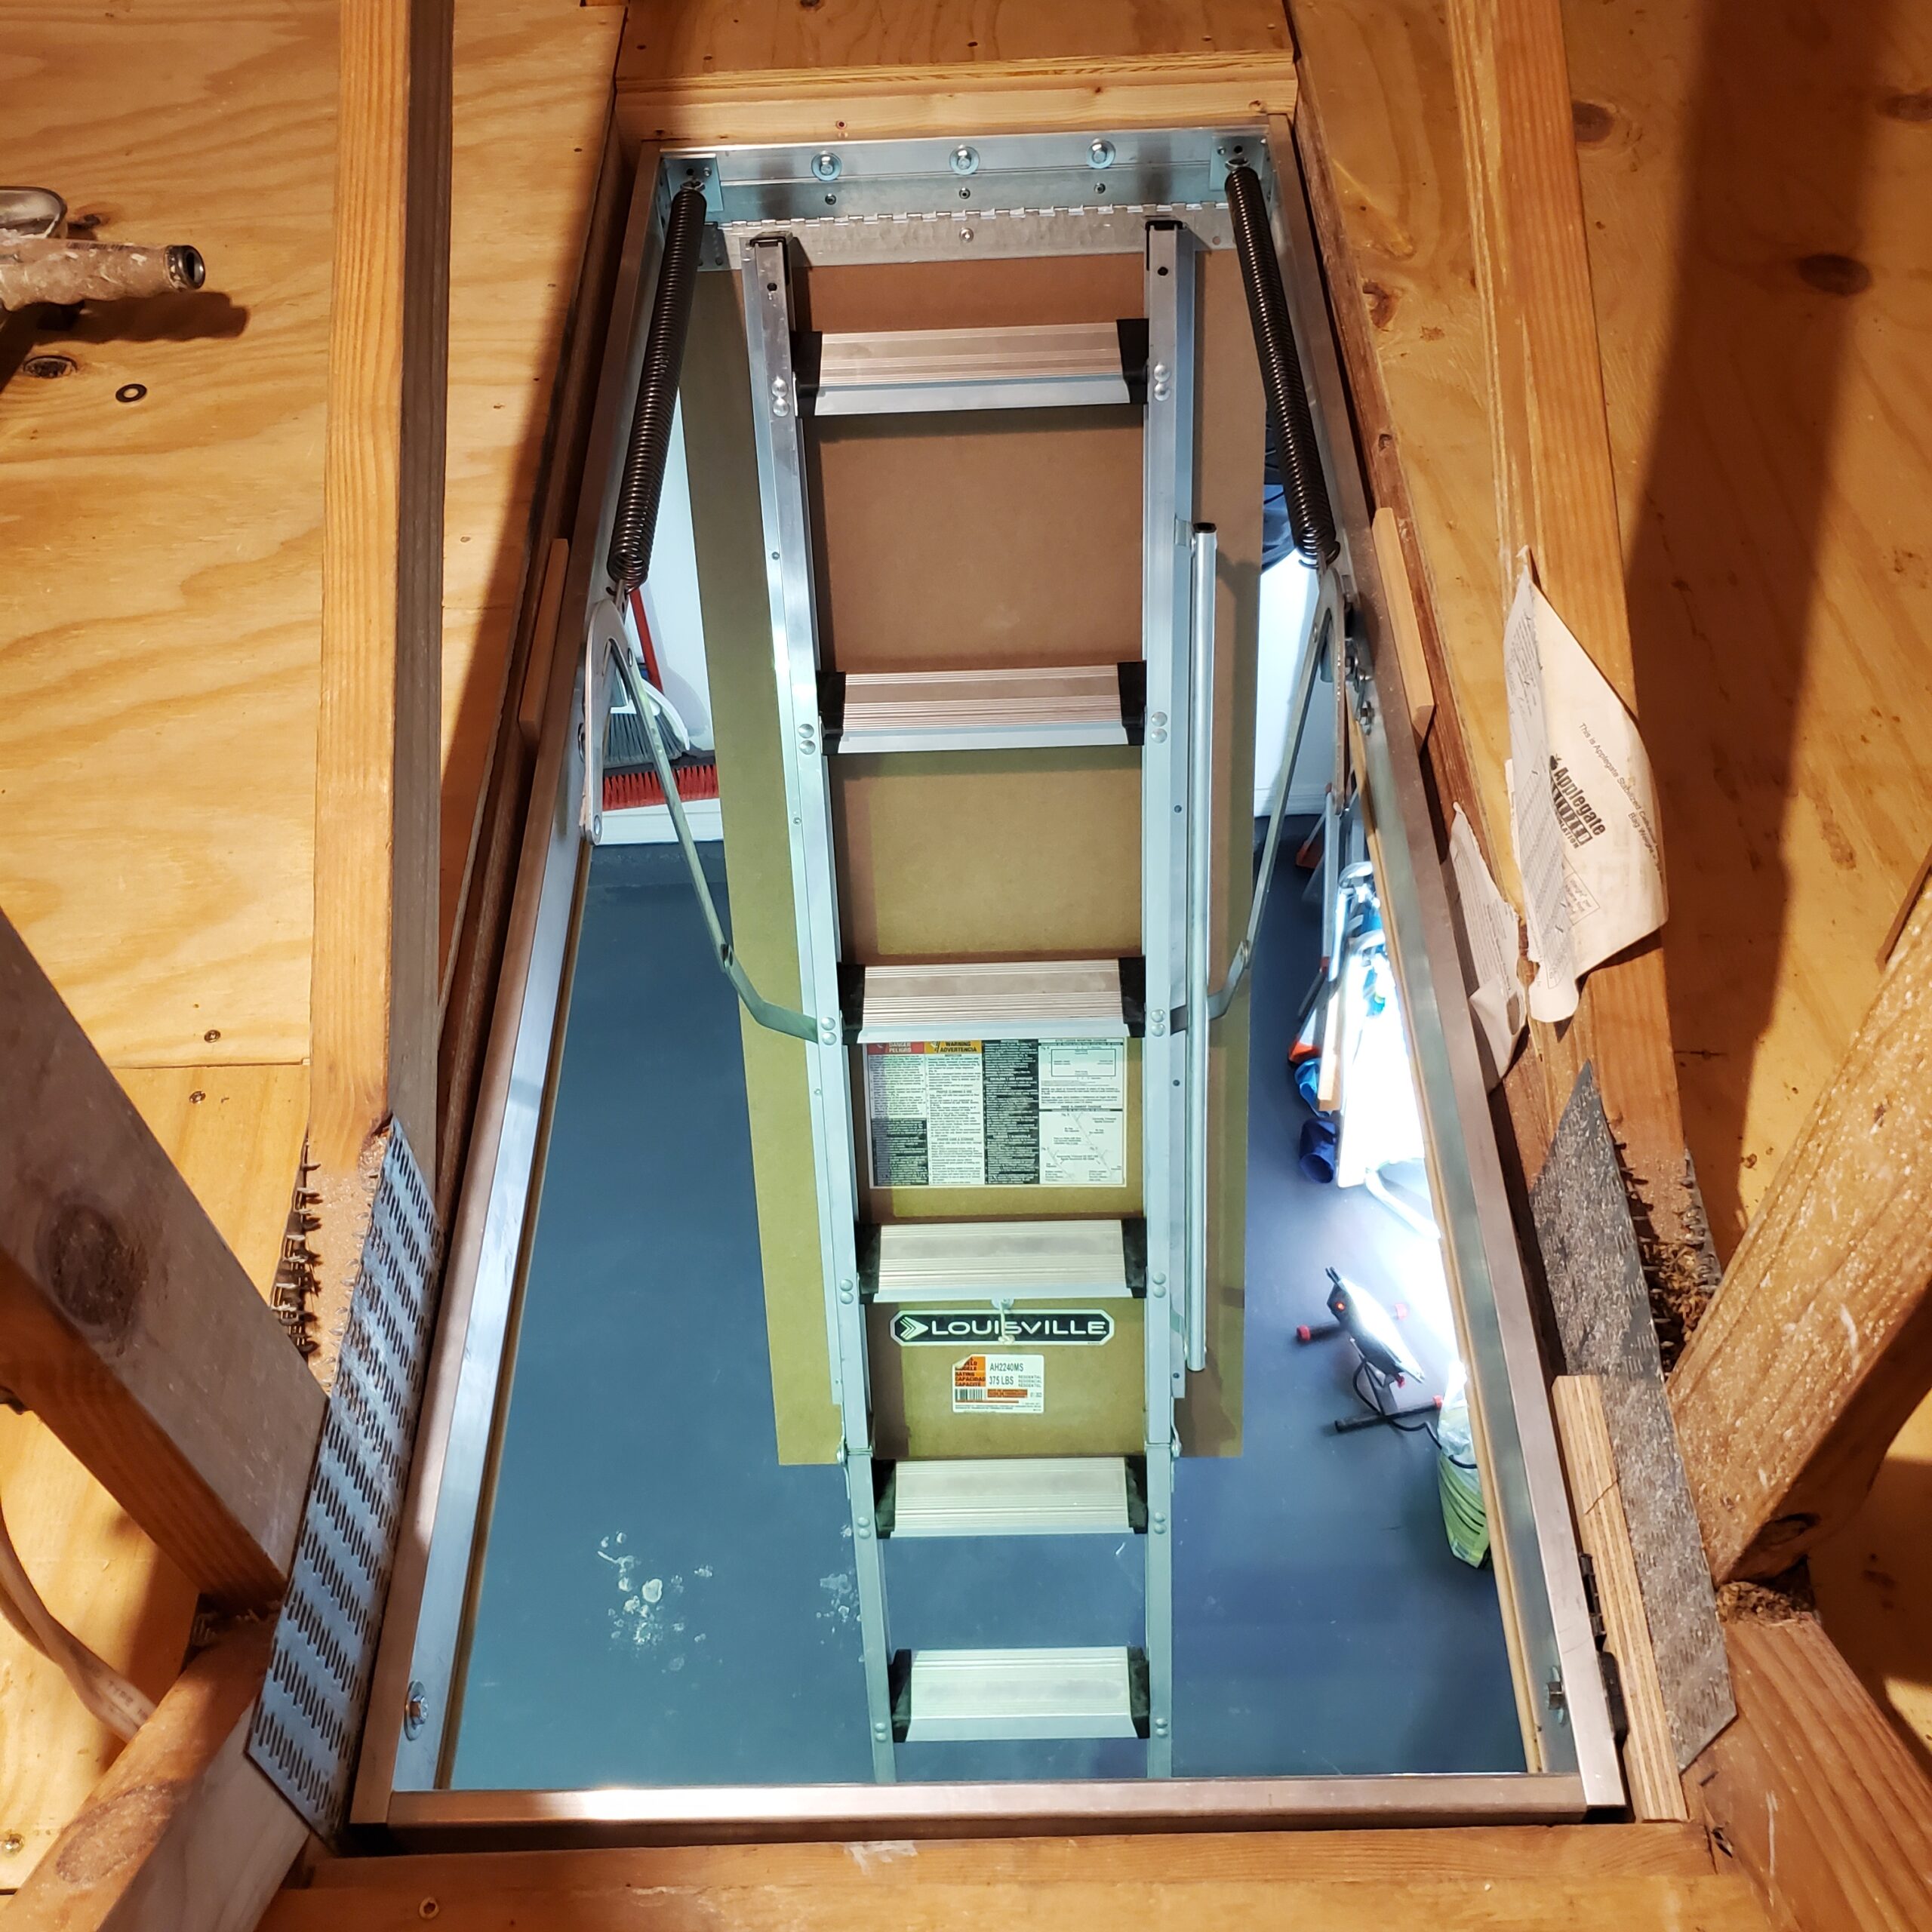
Step 3: Installing the Attic Ladder
With the opening properly framed, I installed the aluminum pull-down attic ladder. These ladder systems come as a complete unit with the door panel, spring mechanism, and folding ladder integrated together. The installation requires precise positioning and shimming to ensure the door sits flush with the ceiling and operates smoothly.
I secured the ladder frame to the ceiling joists using the manufacturer’s specified hardware, checked for proper alignment, and tested the spring tension to ensure easy operation. The ladder needed to fold and unfold smoothly without binding, and the door needed to sit perfectly flush when closed.
Pro tip: Many homeowners try to install attic ladders themselves and run into problems with the spring adjustment and alignment. Professional installation ensures the ladder operates smoothly and safely from day one, with no callbacks needed to fix operational issues.
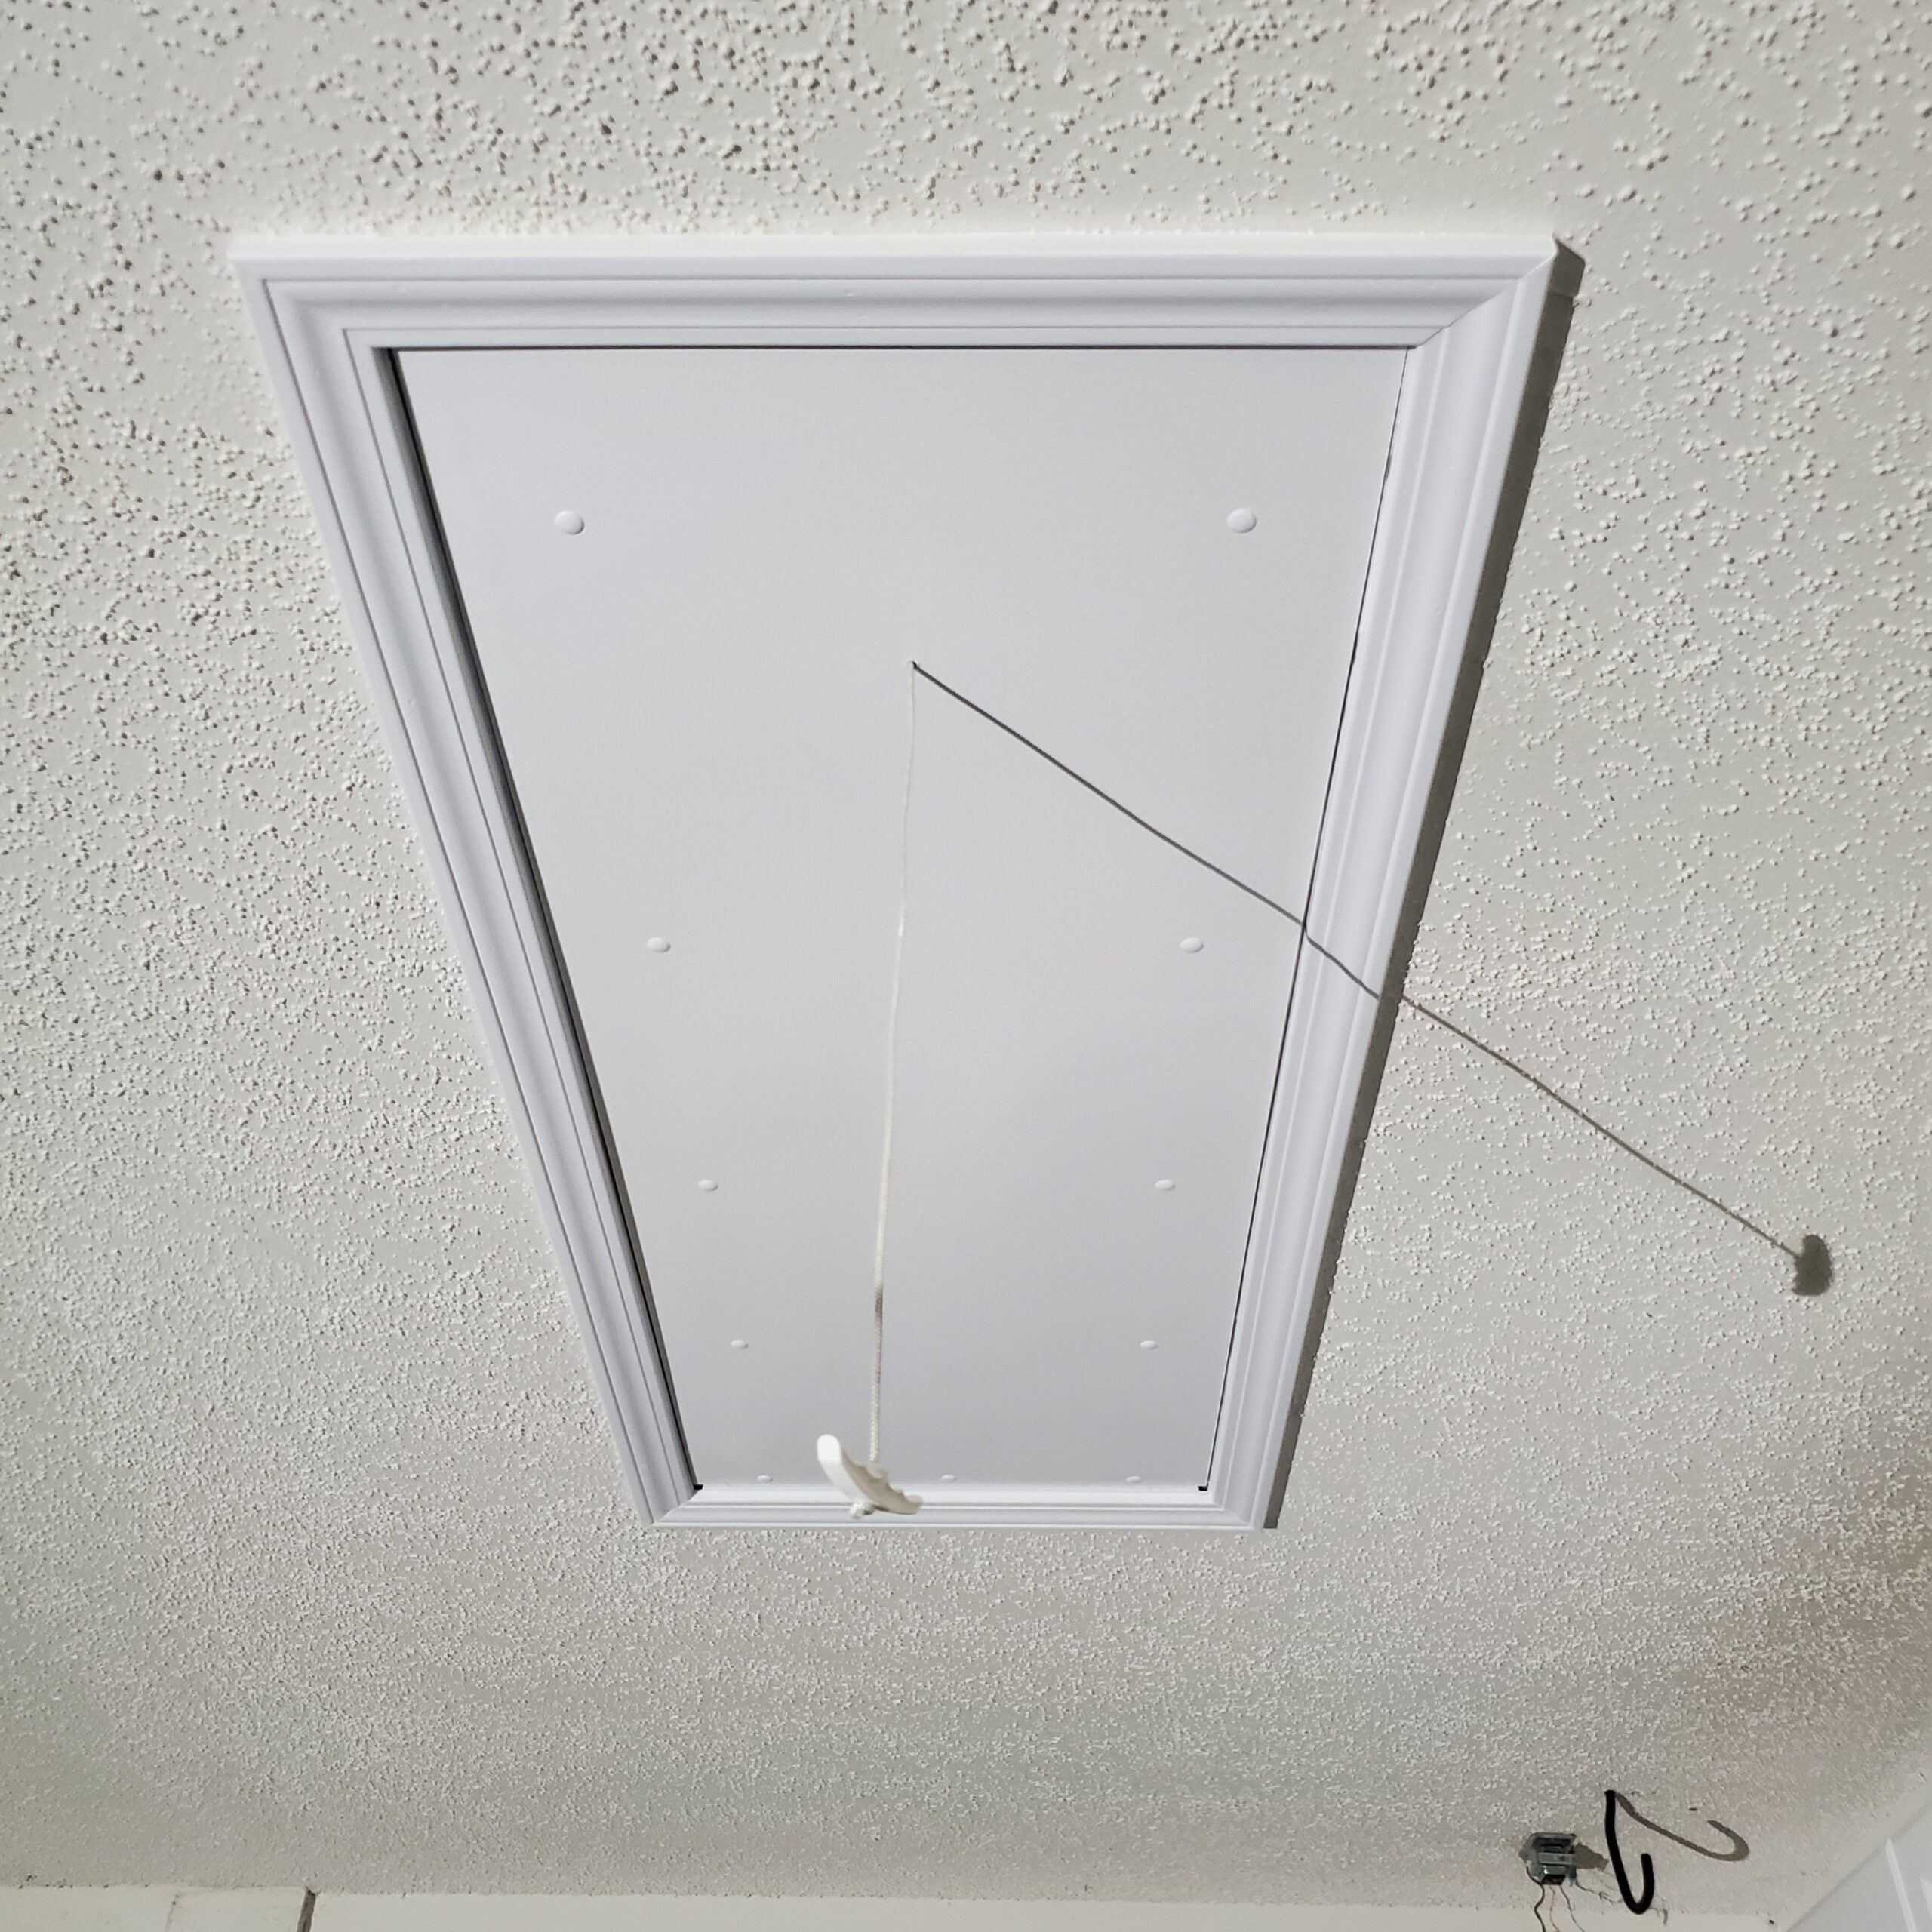
Step 4: Custom Trim Installation
Once the ladder was installed and operating properly, I installed custom trim around the perimeter of the ladder door. This trim serves multiple purposes: it covers the gap between the ladder frame and the ceiling drywall, provides a finished appearance, and helps protect the edges of the drywall from damage.
I carefully measured, cut, and mitered the trim pieces to ensure tight joints at each corner. The trim was then secured with finish nails, and all joints and seams were caulked for a seamless, professional finish.
Step 5: Painting and Finishing
The final step for the ladder installation was painting the trim and door to match the existing garage ceiling color. I carefully painted both the trim and the ladder door panel, ensuring clean lines and complete coverage. The caulked seams were painted as well, creating a seamless appearance that looks like the ladder has always been there.
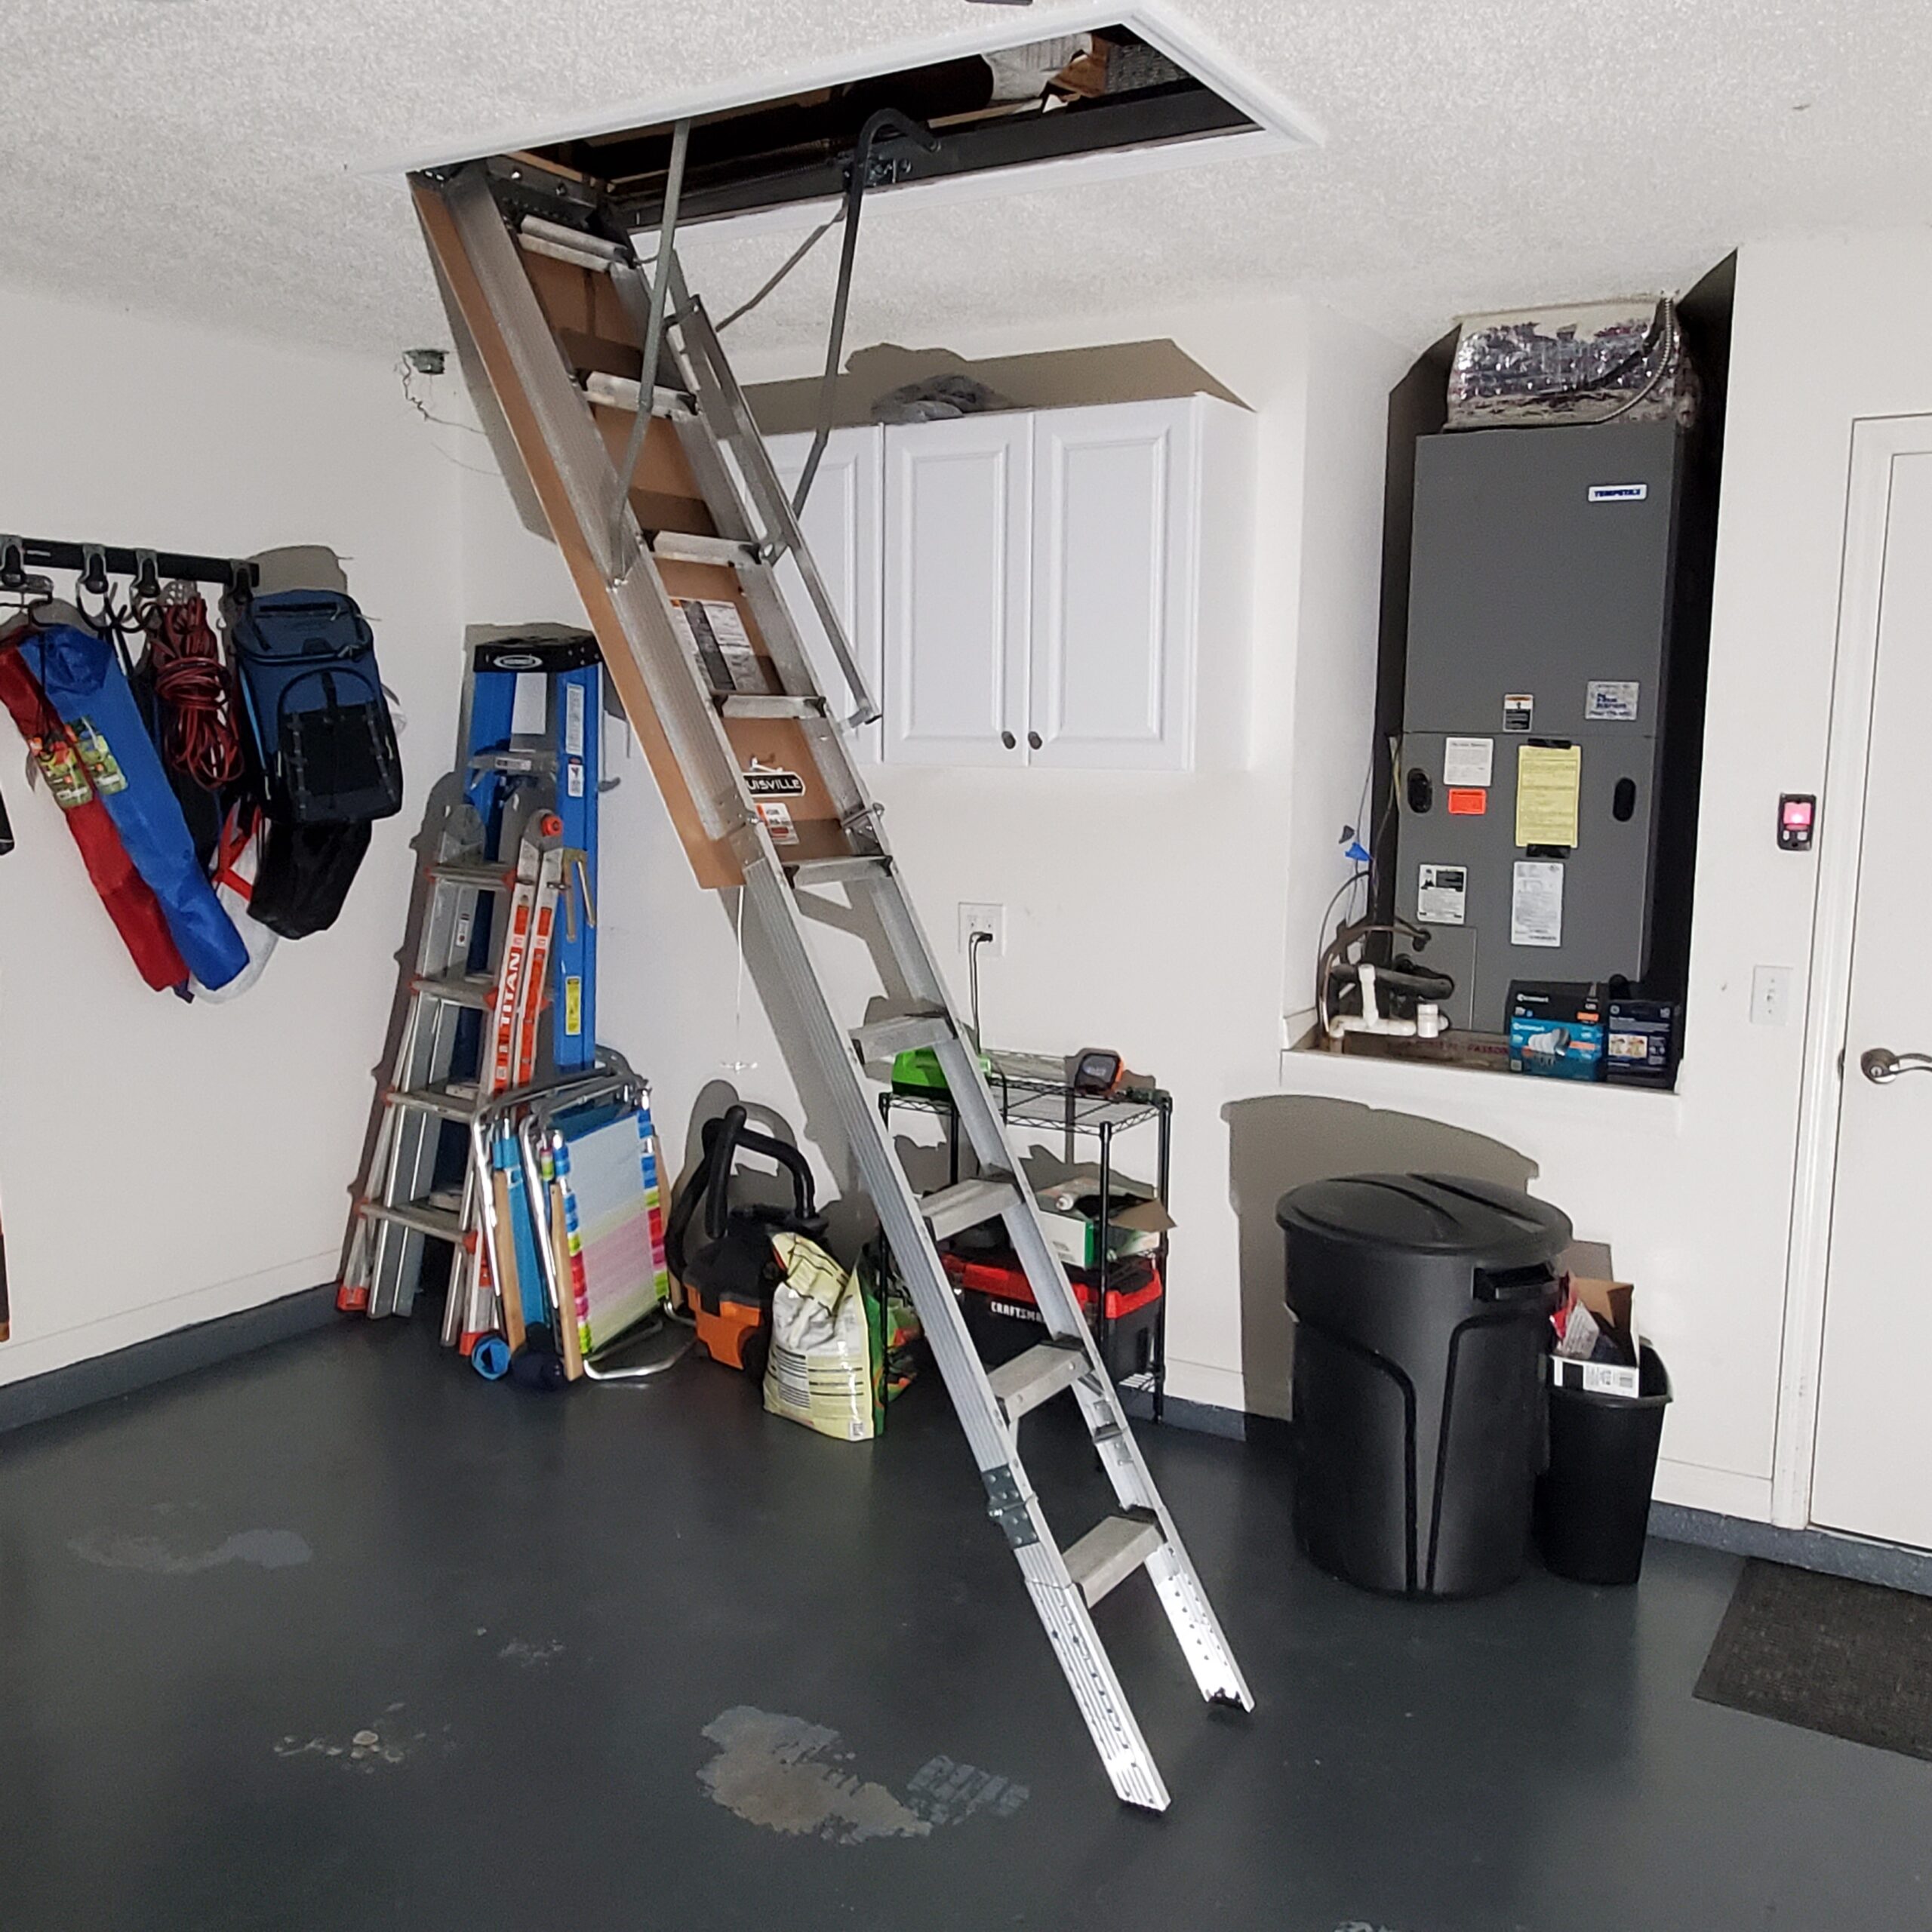
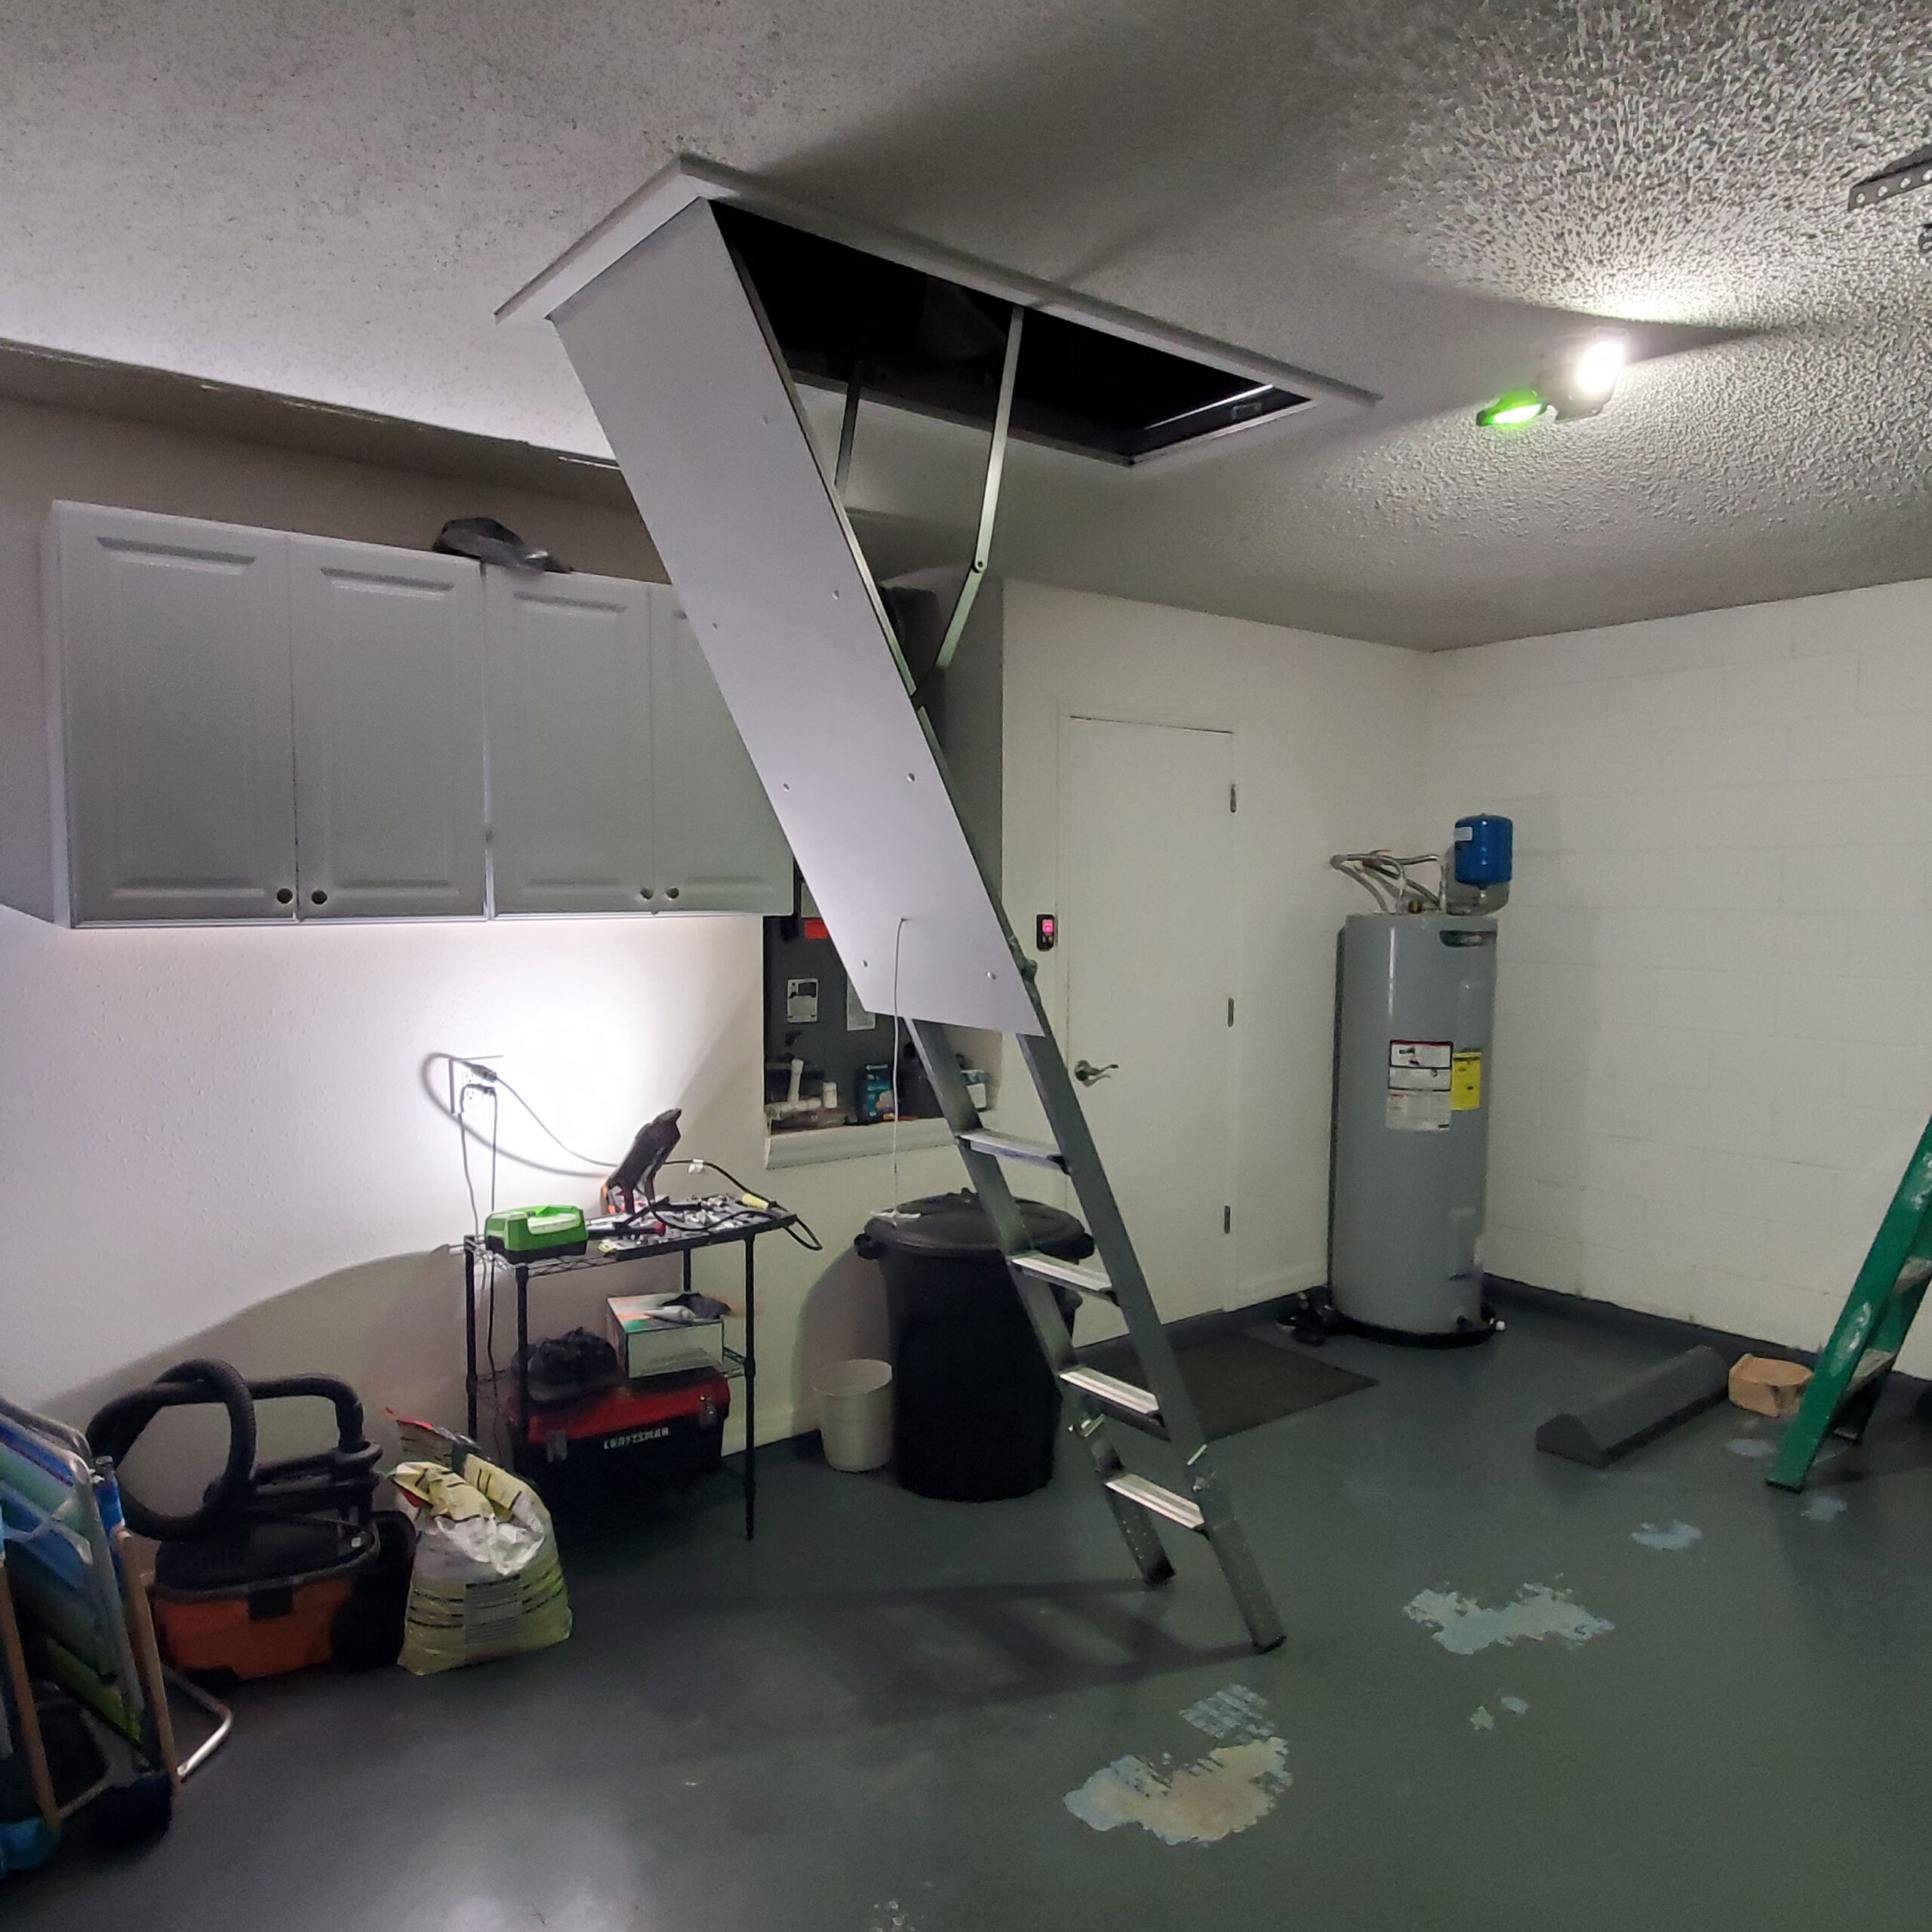
The result? A professional attic ladder installation that blends perfectly with the existing garage finish while providing safe, convenient access to the attic storage space.
Attic Ladder Installation Photo Gallery – South Jacksonville, FL Project
See the transformation from start to finish! Below are photos documenting this attic ladder installation project in South Jacksonville:
Professional attic ladder installation with custom trim and painting—all completed in just one day!
The Result: Safe, Convenient Attic Access with Improved Storage Capability
The transformation was remarkable. What was once a makeshift access opening with a loose drywall panel is now a professional attic ladder installation that provides safe, convenient access to the attic storage space.
The aluminum pull-down ladder operates smoothly and safely, the custom trim work blends seamlessly with the existing garage finish, and the homeowner can now easily access their attic space whenever needed without struggling with a makeshift panel and ladder.
Best of all, the entire project was completed in a single day, minimizing disruption to the homeowner while delivering a professional result that will provide value for years to come.
South Jacksonville Customer Review..
“Brian did an excellent job installing our attic access. He put down plywood, installed the ladder, and made sure everything was secure and clean. He’s diligent, detail-oriented, and prompt. He truly takes pride in his work. Highly recommend him for any projects.”
Building long-term relationships with clients based on quality work, fair pricing, and reliability is what The Great Handyman is all about.
Investment for a Project Like This
Scope of Work Included:
- Remove existing trim and drywall access panel
- Rough frame ceiling opening to proper dimensions
- Install new aluminum pull-down attic ladder
- Install custom trim around ladder door
- Caulk all trim joints and seams
- Paint trim and door to match existing garage finish
- All materials included (trim, caulk, paint, fasteners)
Project Investment: $680 (not including ladder)
Note: Price includes professional installation labor and all construction materials. A quality aluminum attic ladder typically costs around $320 from a big box store (customer-purchased), bringing the total project cost to approximately $1,000 for complete ladder installation
Why Choose The Great Handyman for Your Attic Ladder Installation in Jacksonville, FL?
- Expert Installation: Proper framing, precise alignment, and smooth operation—I ensure your ladder is installed correctly the first time
- Complete Service: From framing to finishing work, I handle every aspect of your attic access project
- Professional Finishing: Custom trim work, caulking, and painting that blends seamlessly with your existing space
- Safety First: Proper framing and installation ensure your ladder is safe and will operate correctly for years
- Fair, Transparent Pricing: You’ll know exactly what’s included in your project scope and cost
- Local Jacksonville Service: Serving homeowners throughout the 32258 area, South Jacksonville, and surrounding communities
- Proven Track Record: Over 100+ five-star reviews from satisfied customers who hire me again and again
- One-Day Installation: Most attic ladder installations are completed in a single day, minimizing disruption to your home
Ready to Transform Your Attic Access and Create Functional Storage Space?
Whether you need an attic ladder installed, garage ceiling access improved, or any other handyman services in Jacksonville, FL, I’m here to help. With years of experience and a commitment to quality craftsmanship, I’ll ensure your project is completed to the highest standards.
Contact Brian Gallagher – The Great Handyman Today:
📞 Call or Text: 904-580-2338
Serving South Jacksonville, Bartram Park, Mandarin, and all surrounding Jacksonville communities from my business location in the 32258 area. Licensed, reliable, and ready to tackle your next home improvement project.
Don’t wait—get your free estimate today and discover why homeowners throughout South Jacksonville, Florida trust The Great Handyman for quality work at fair prices!